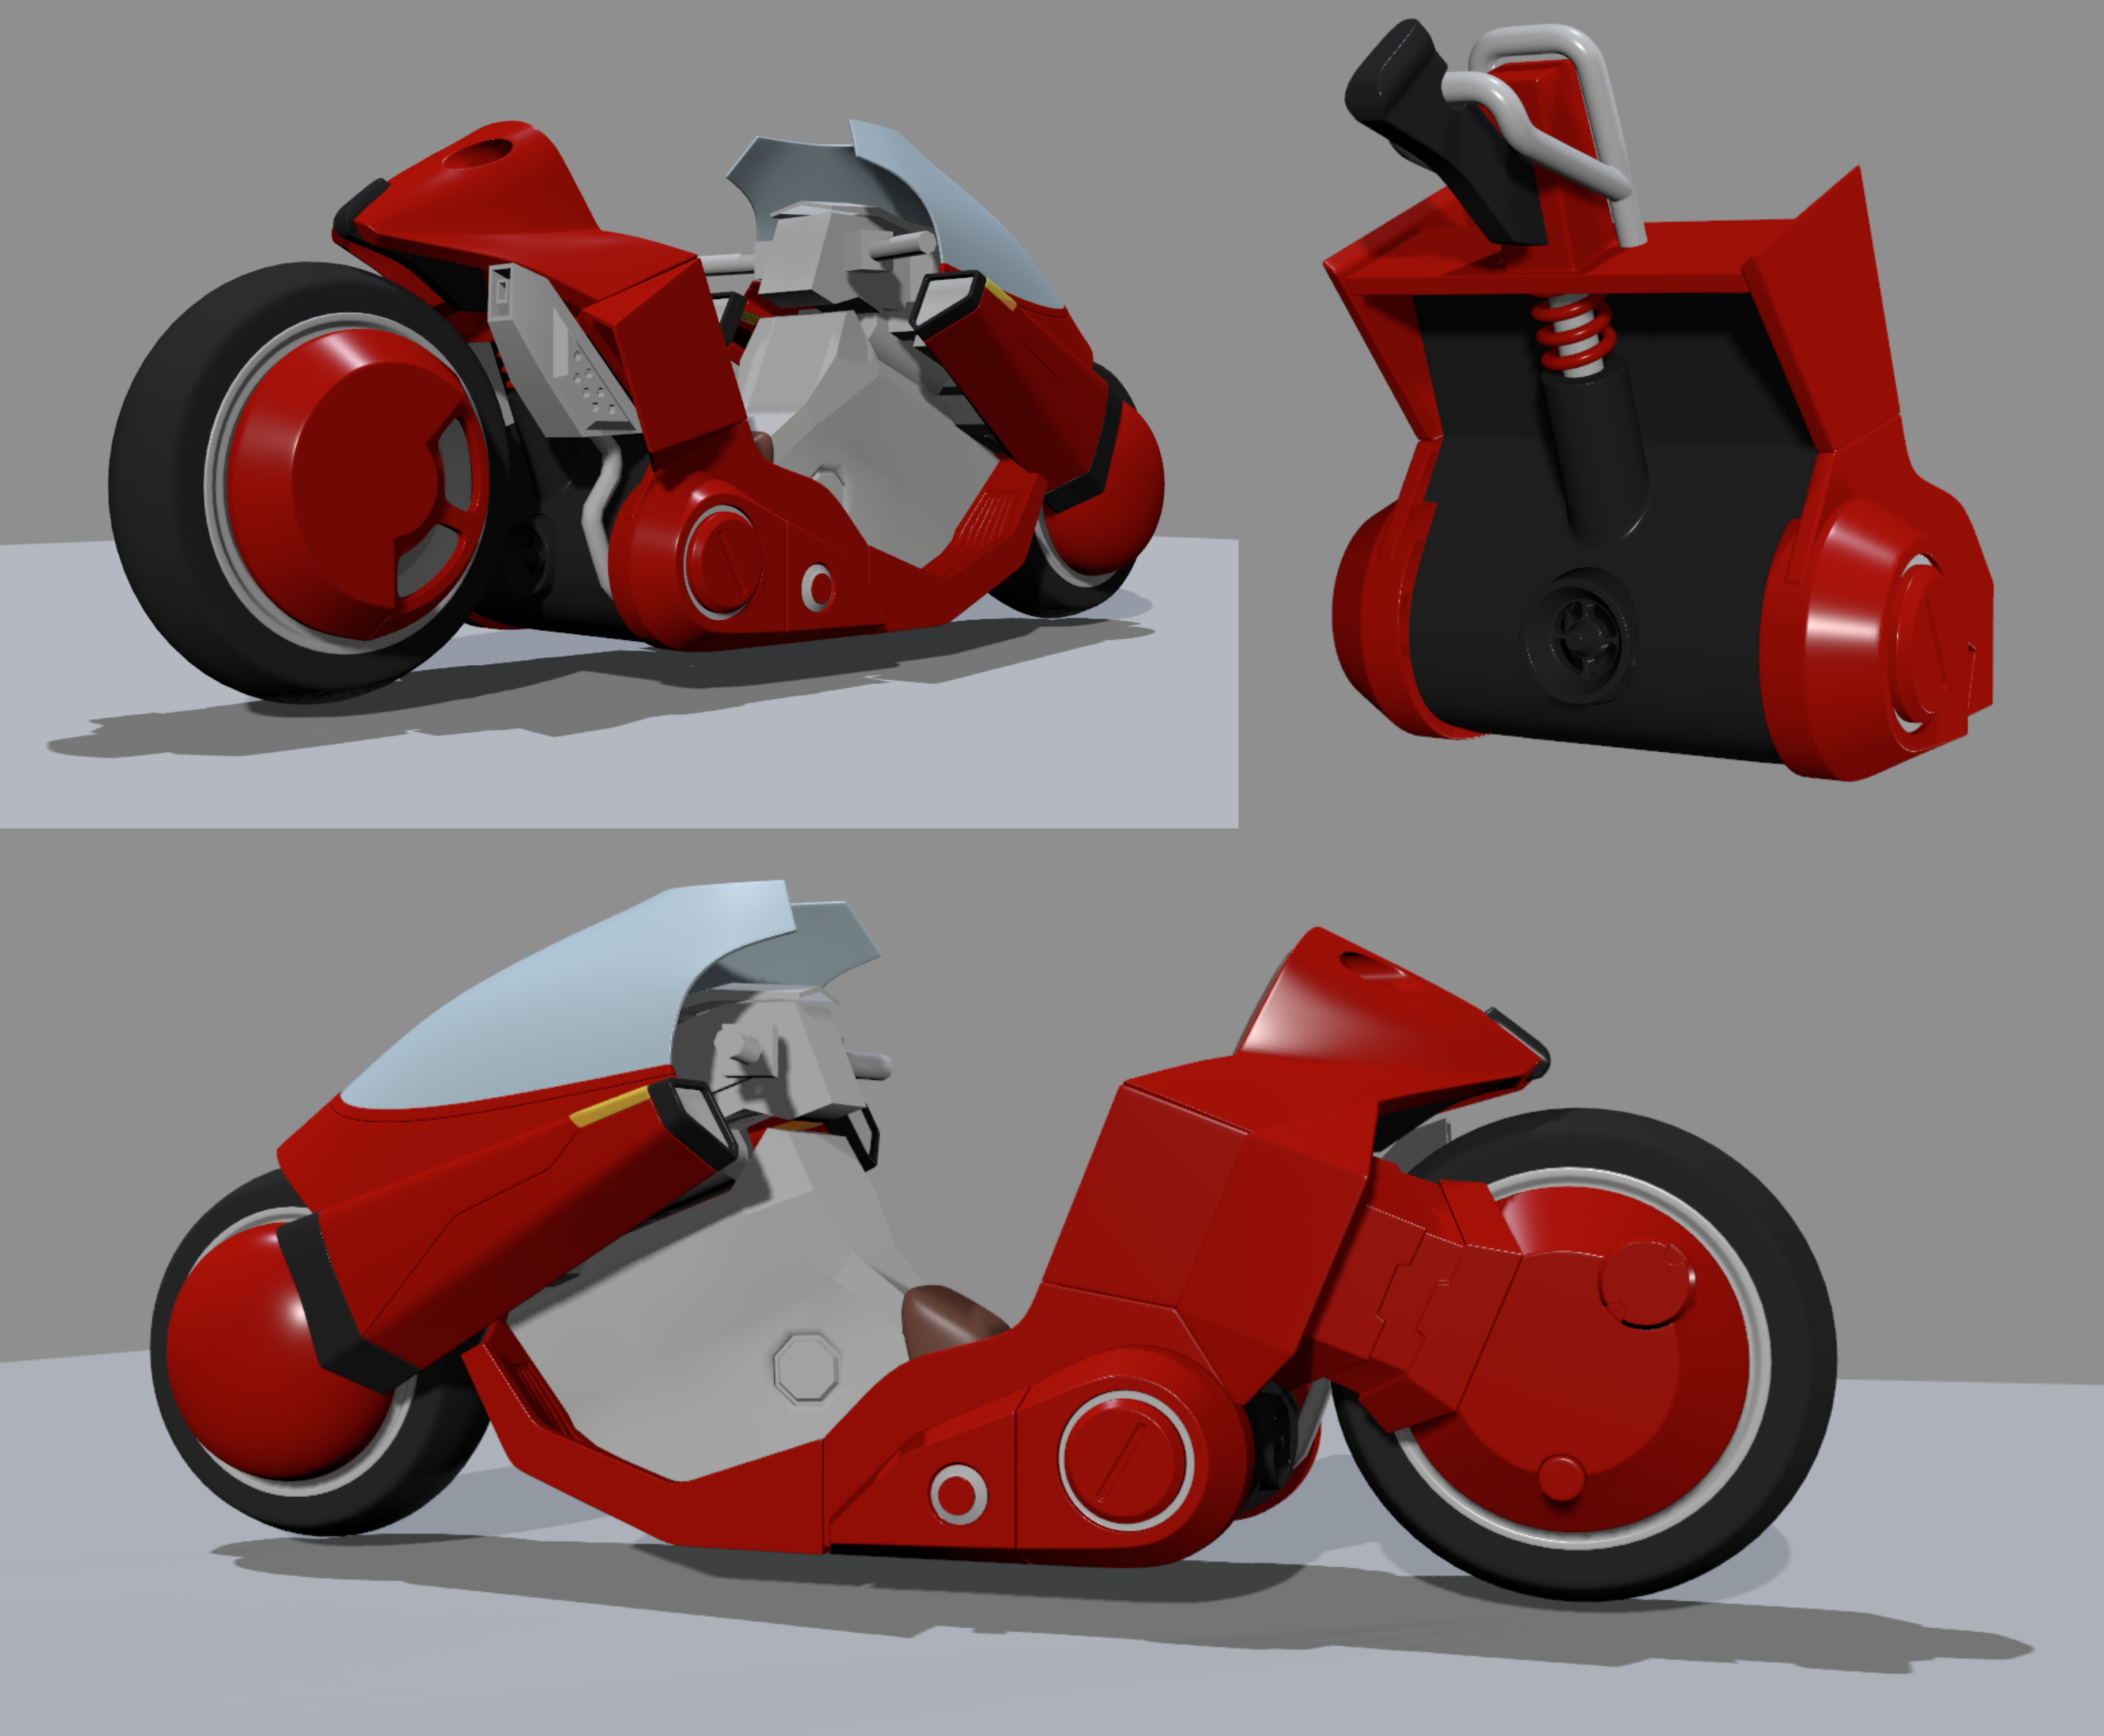
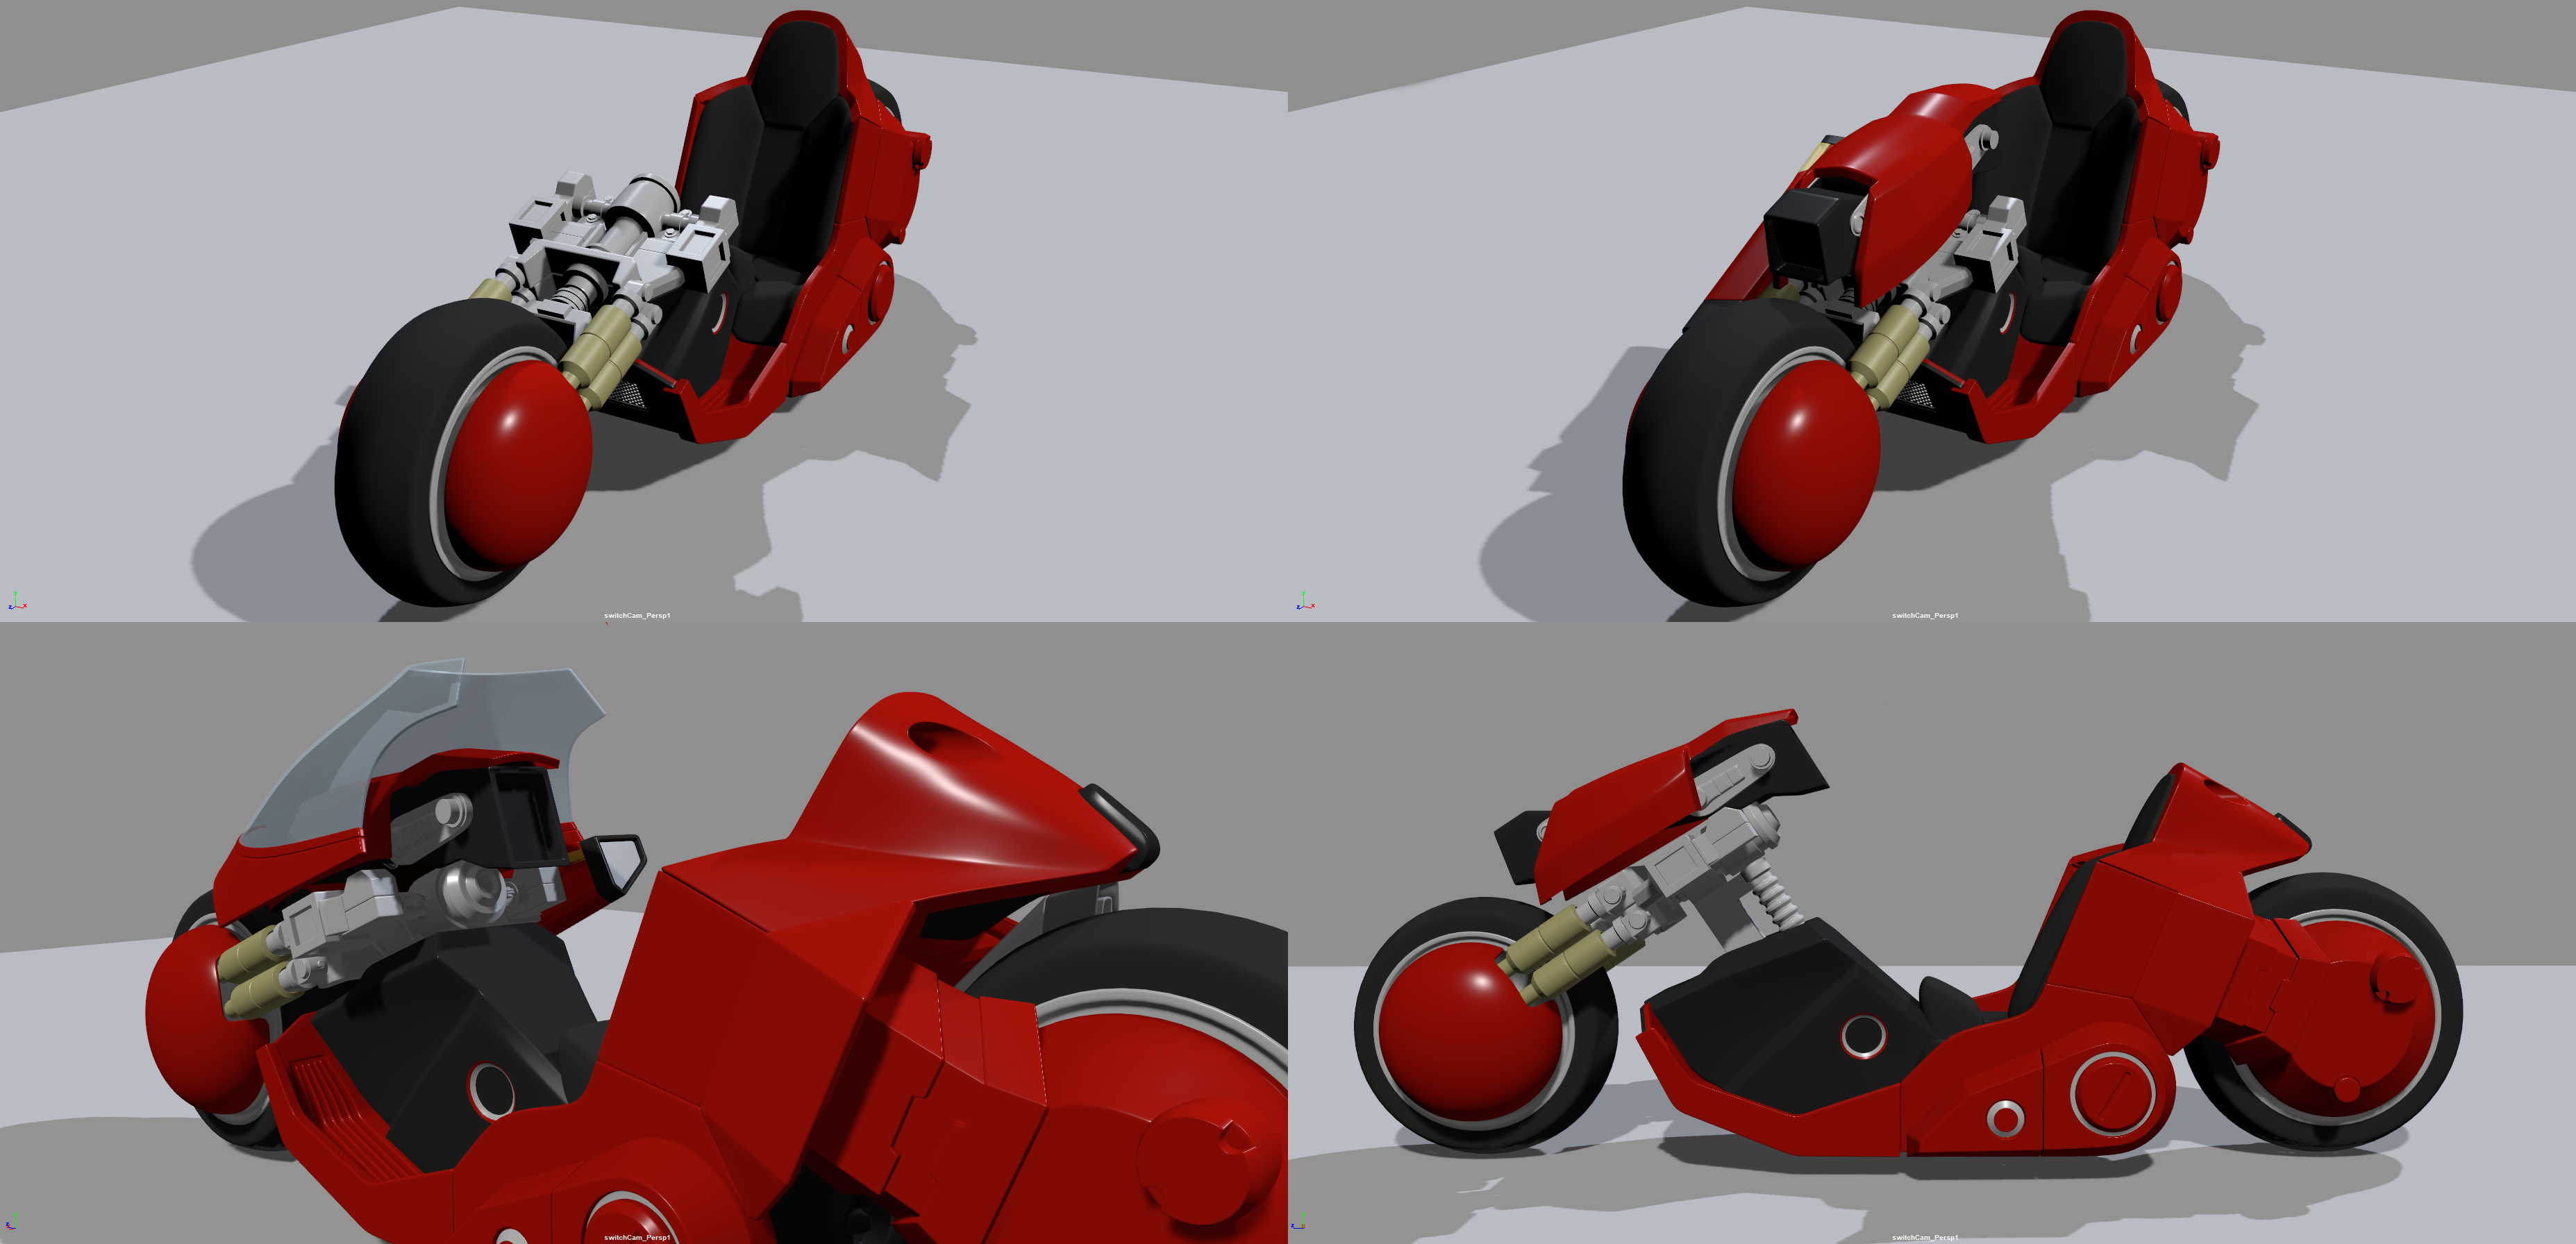
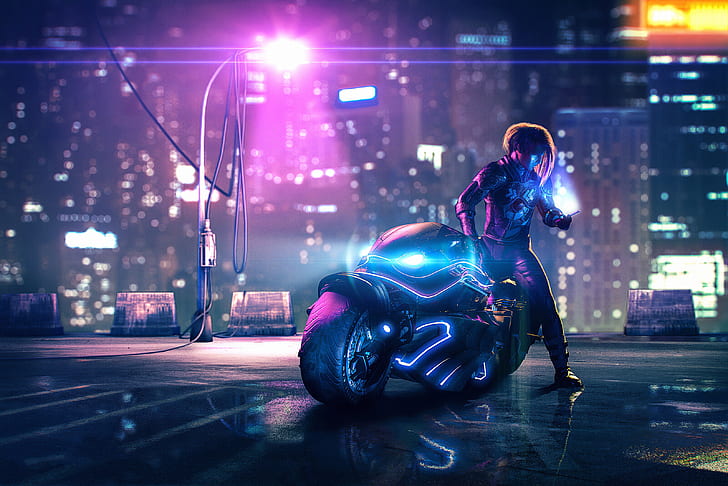
PERSONAL WORK (full exercise)
In 2017 I was starting learning modeling and as an exercise I tried to do the Kaneda’s Bike from the manga Akira (you can see it here -> Kaneda’s Bike 2017). Unfortunately my skills at that time wasn’t good enough and I always felt frustrated about the quality of the model. At the end of 2020, Wizix opened a new modeling challenge about Cybebikes and I thought that it was the perfect “excuse” to redo this bike and see how my skills have improved these last years.
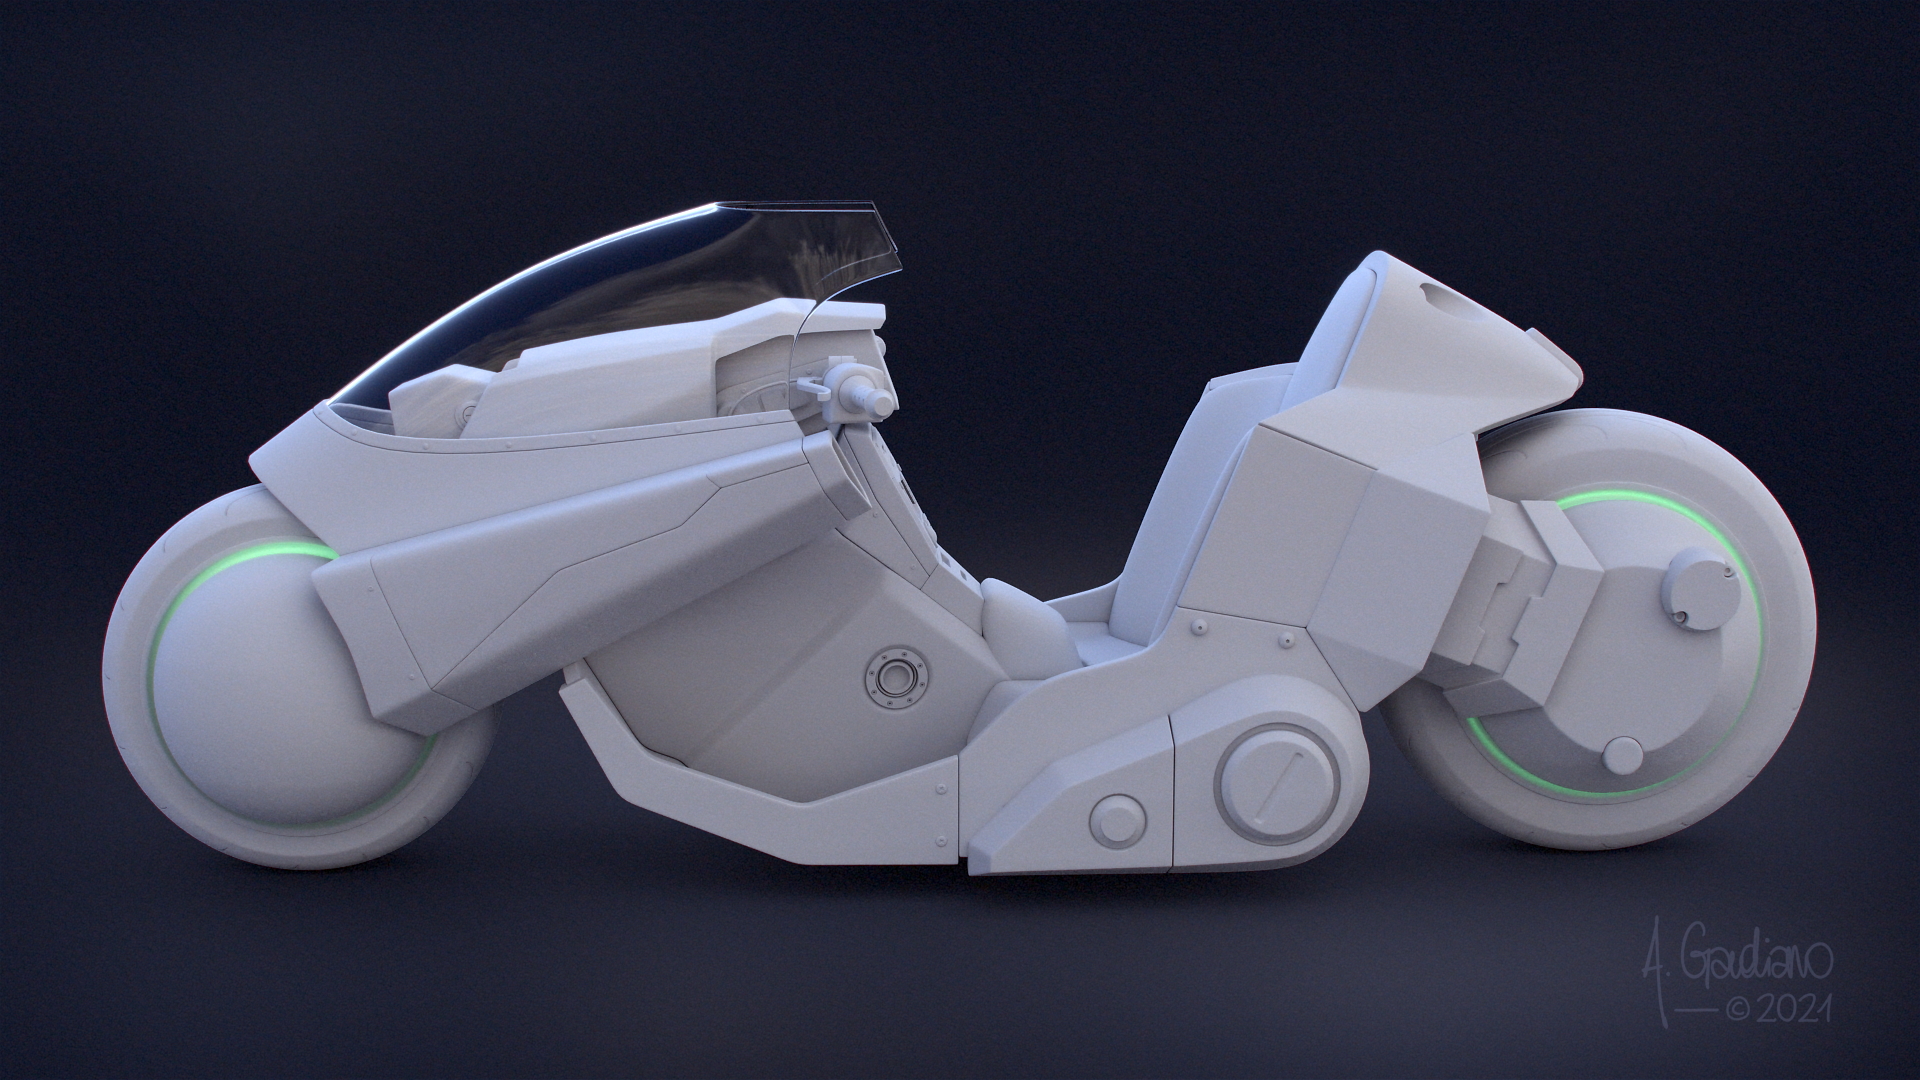
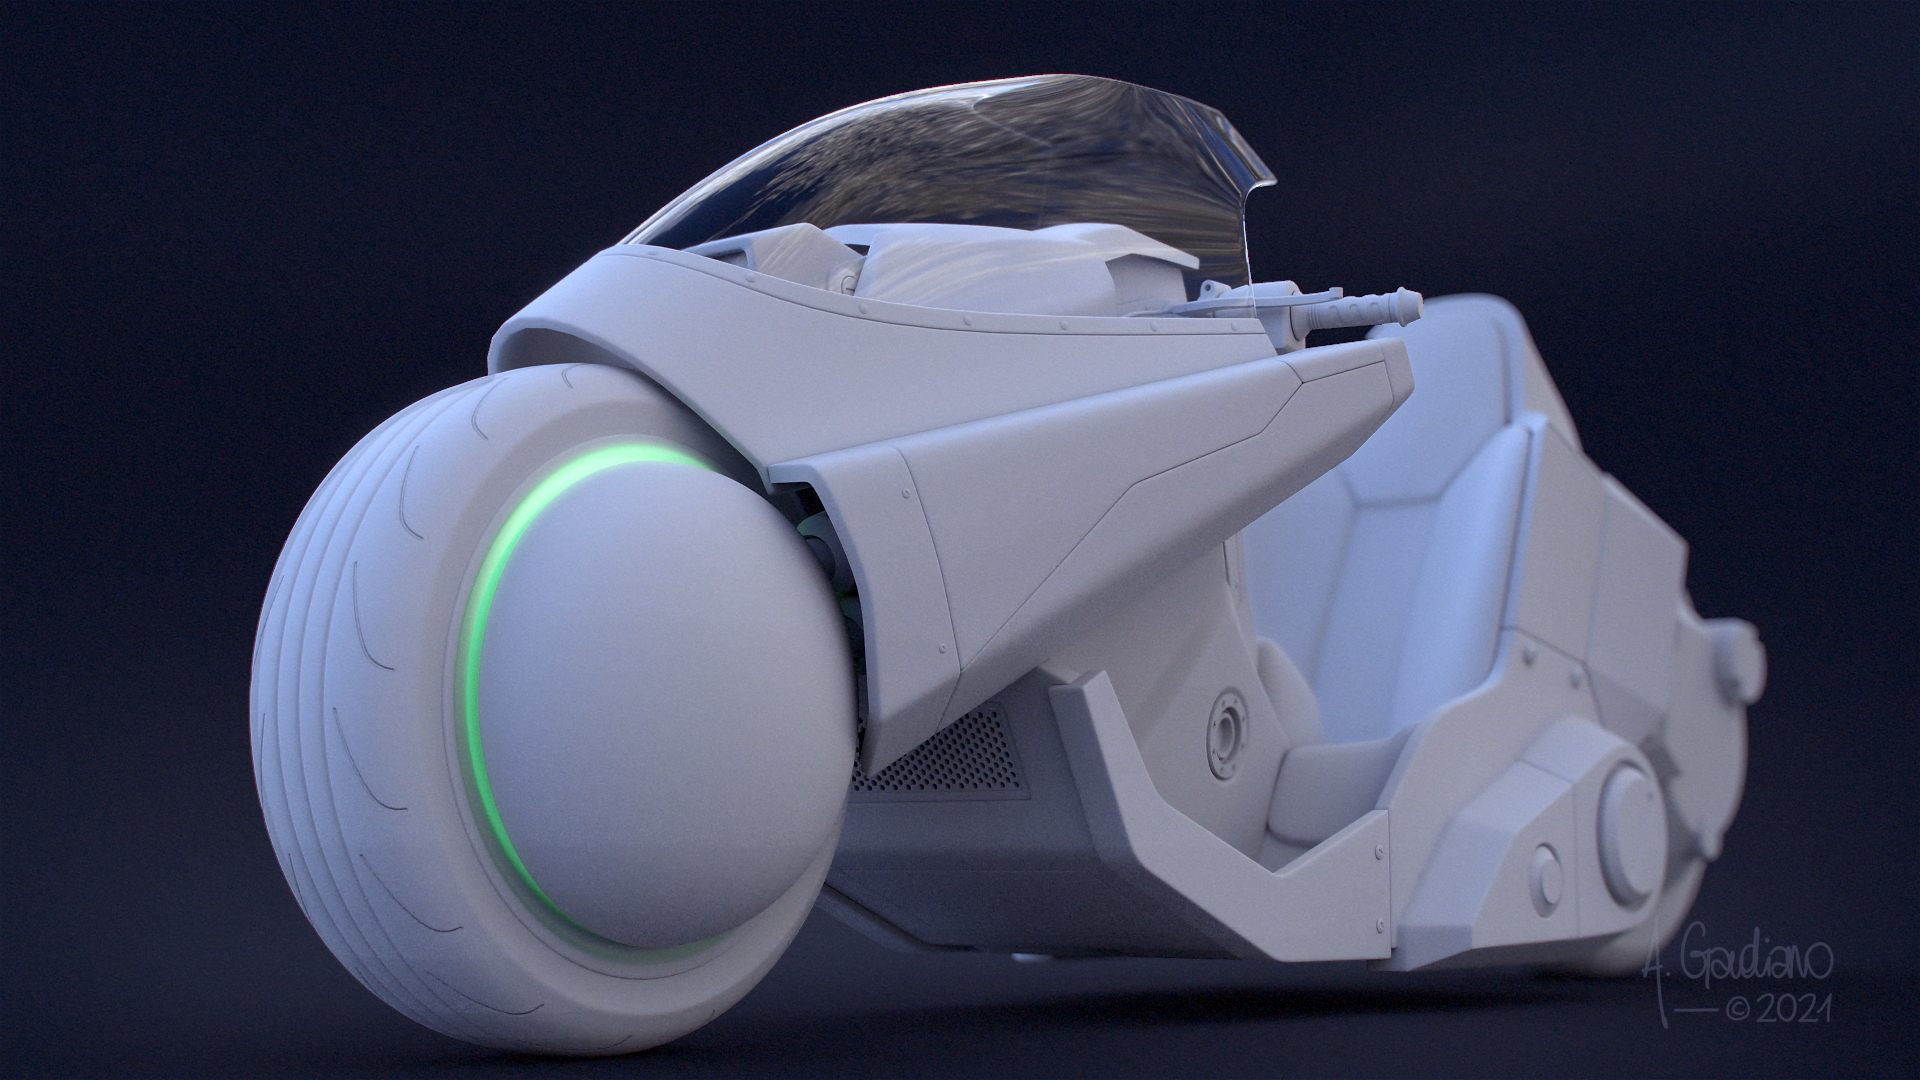
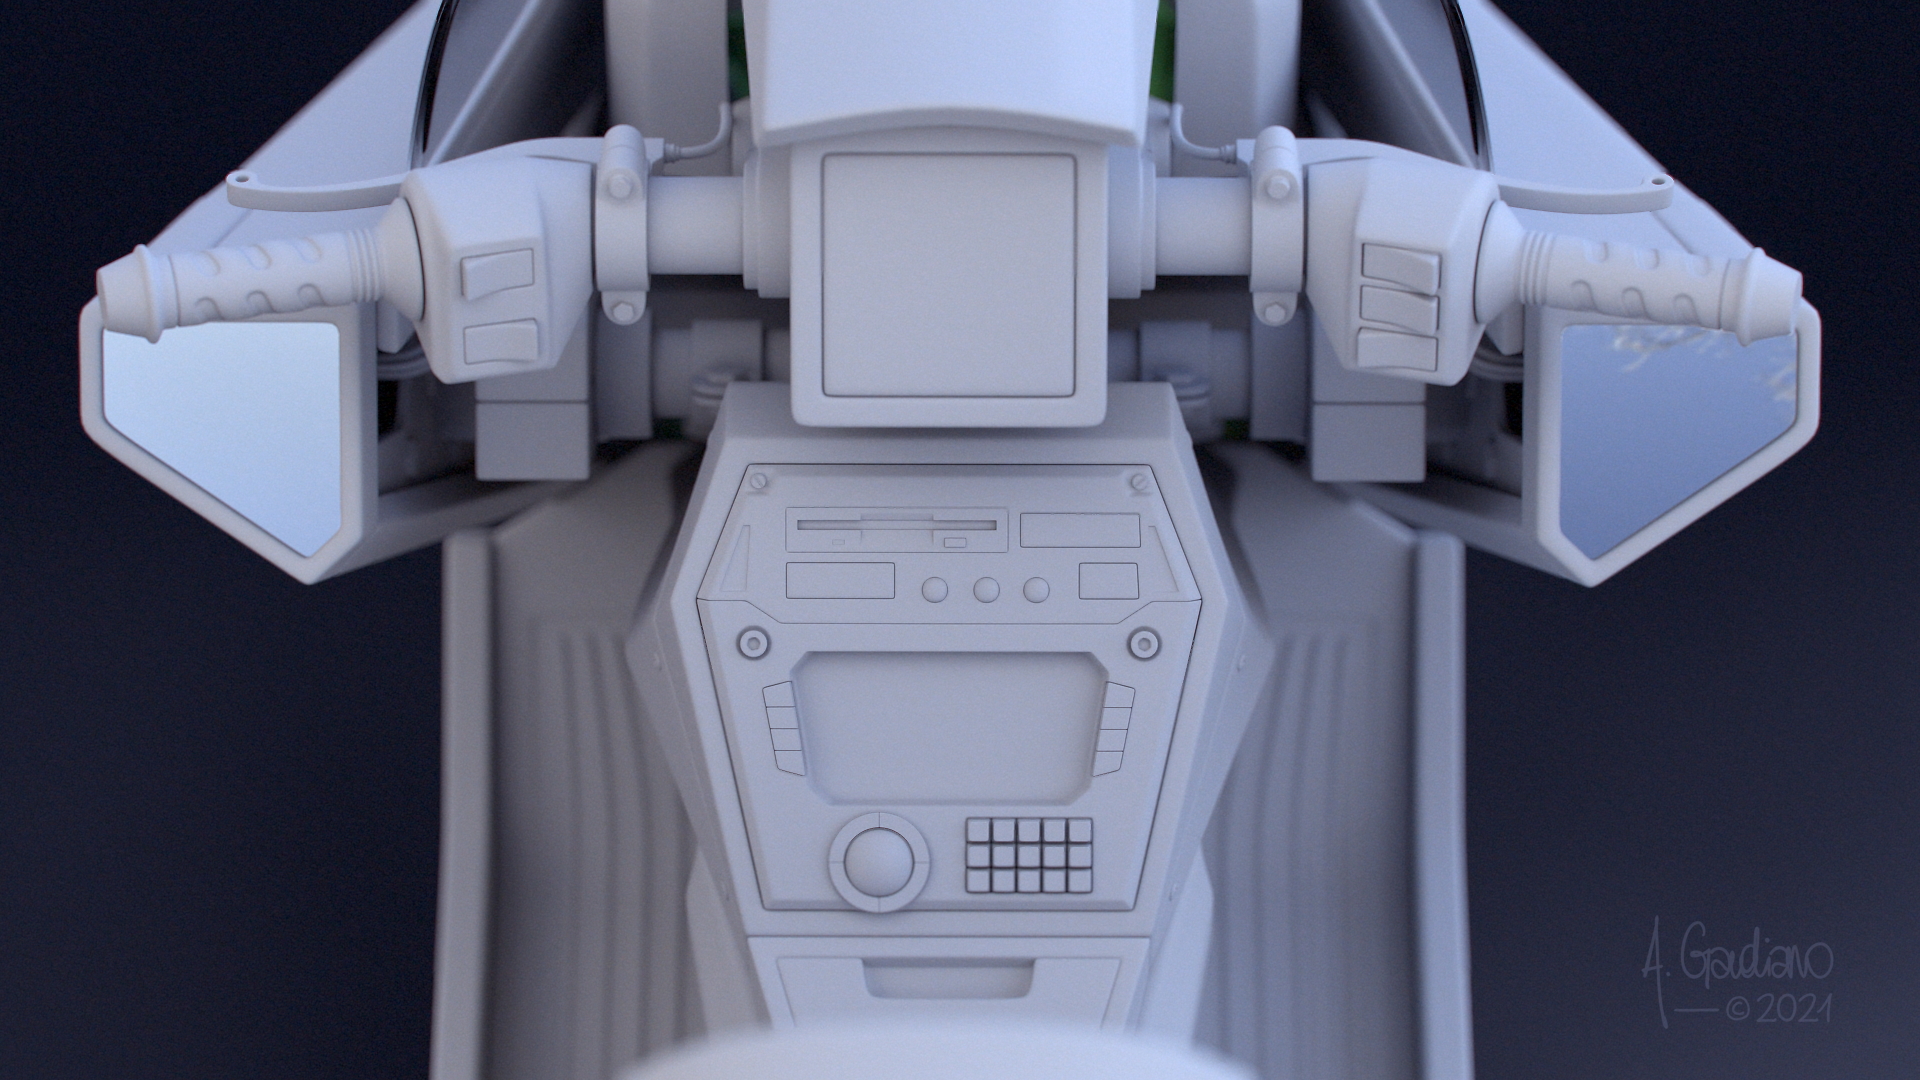
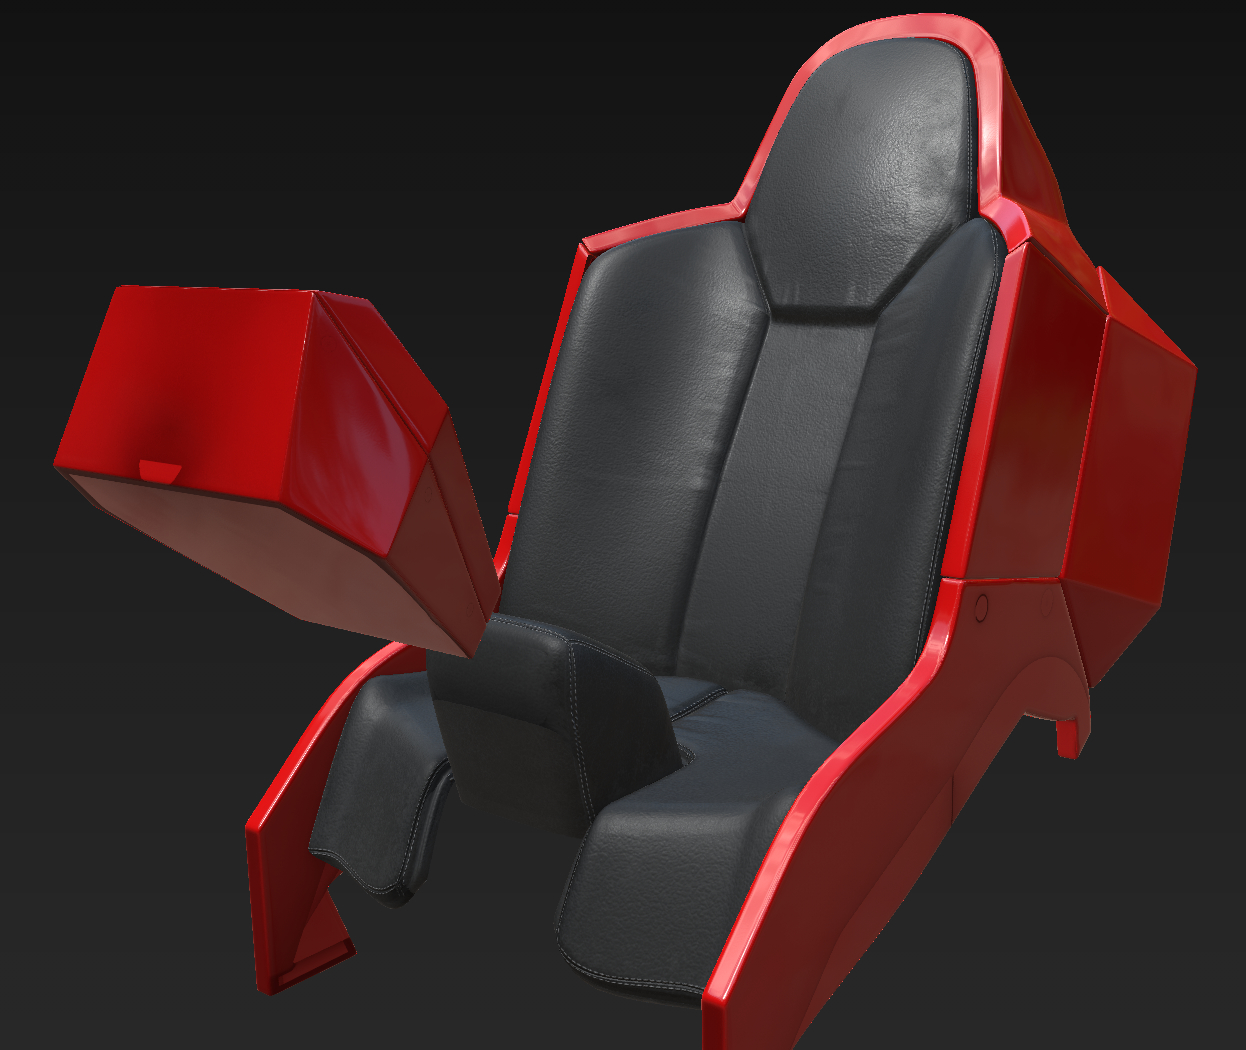
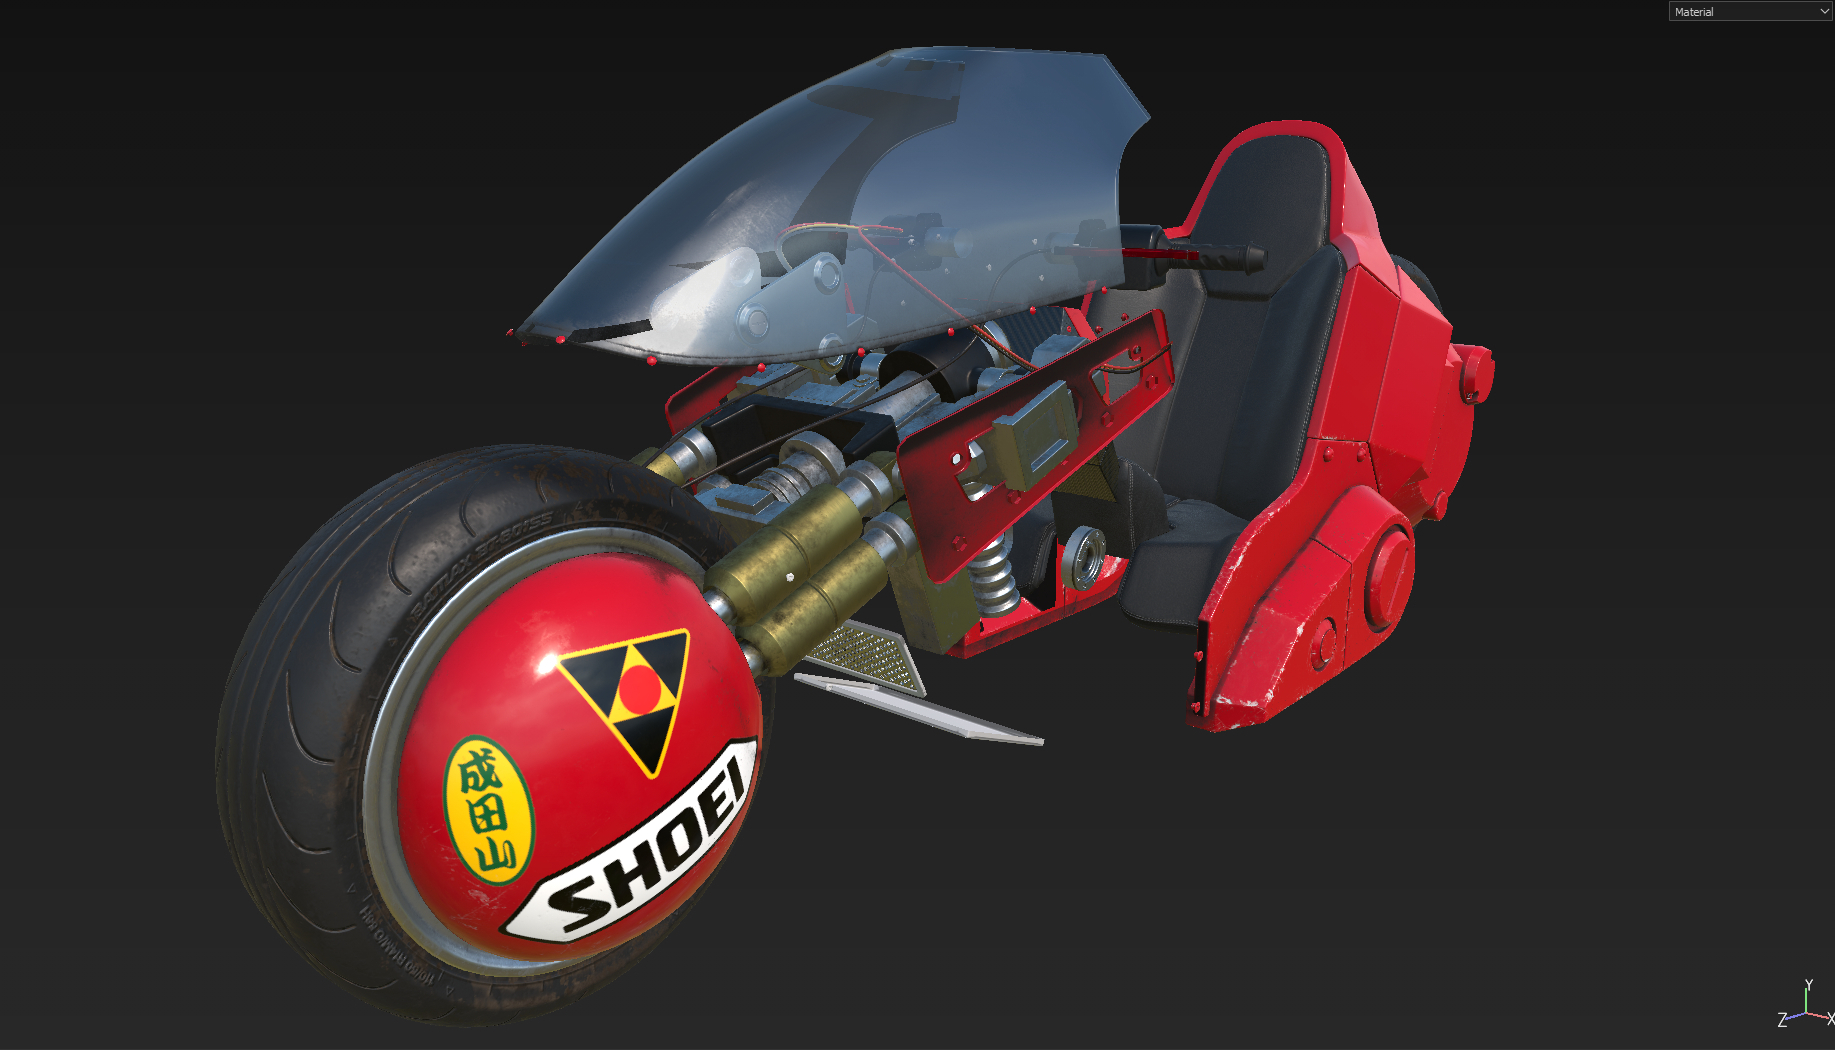
This time, because I’ve studied topology in a correct way, I had no problem to model every parts of the bike. For example, in my previous model I haven’t been able to model the front screen, and I had to do something simpler. However, in my new bike, I have been able to model it as it is in the reference I used.
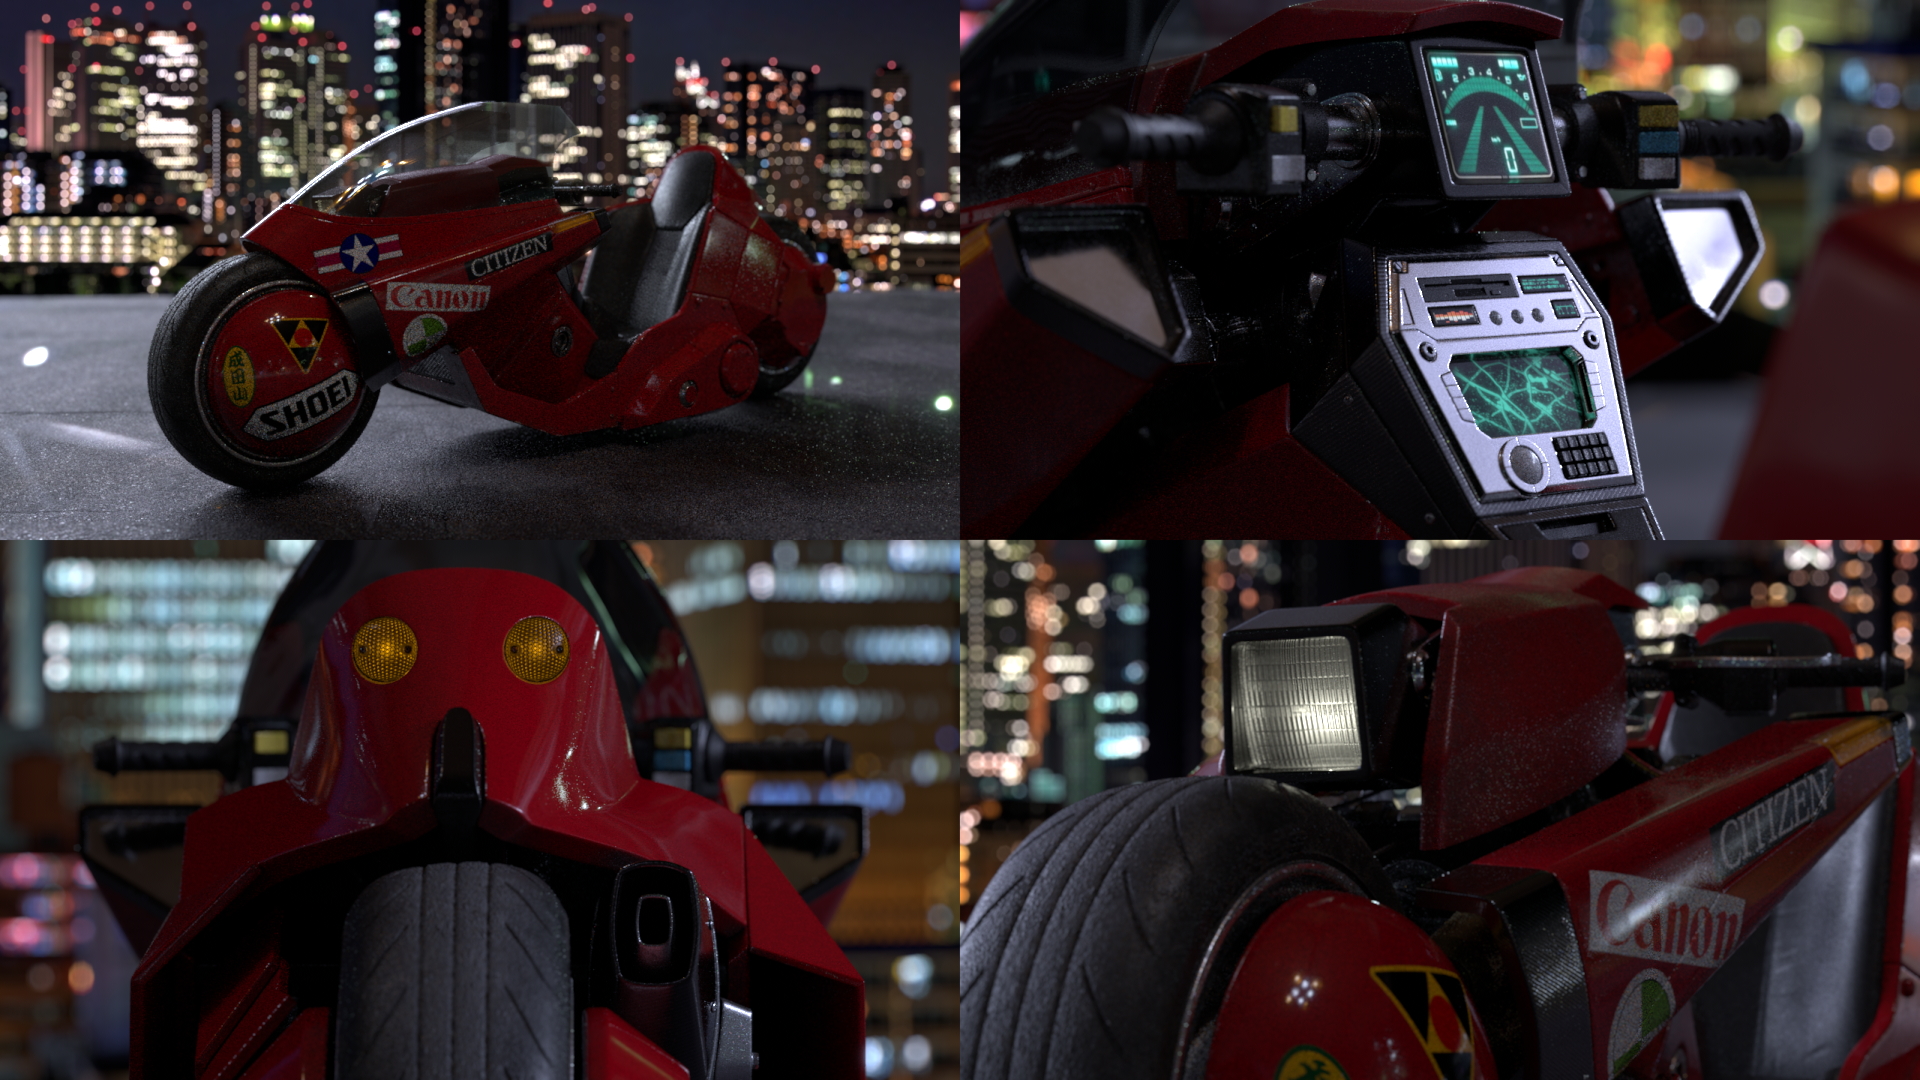
By the end of the challenge, I’ve only had the time to export clay renders and if it was only the compare my modeling skills, I could have stopped the exercise there… but I took the time to push it as far as possible to end up with nice images to show. So I went through all the process of unwrapping the UV’s, Texturing / Shading, Lighting, Rendering and Compositing to get what you can see below. I still made a lot of mistakes during the creation, but the kind of mistakes that teach you a lot 🙂 I hope you’re gonna like it, because I enjoyed making it.
Modeling : Maya
Texturing : Substance Painter
Lighting / Shading / Rendering : Arnold
Compositing : Nuke
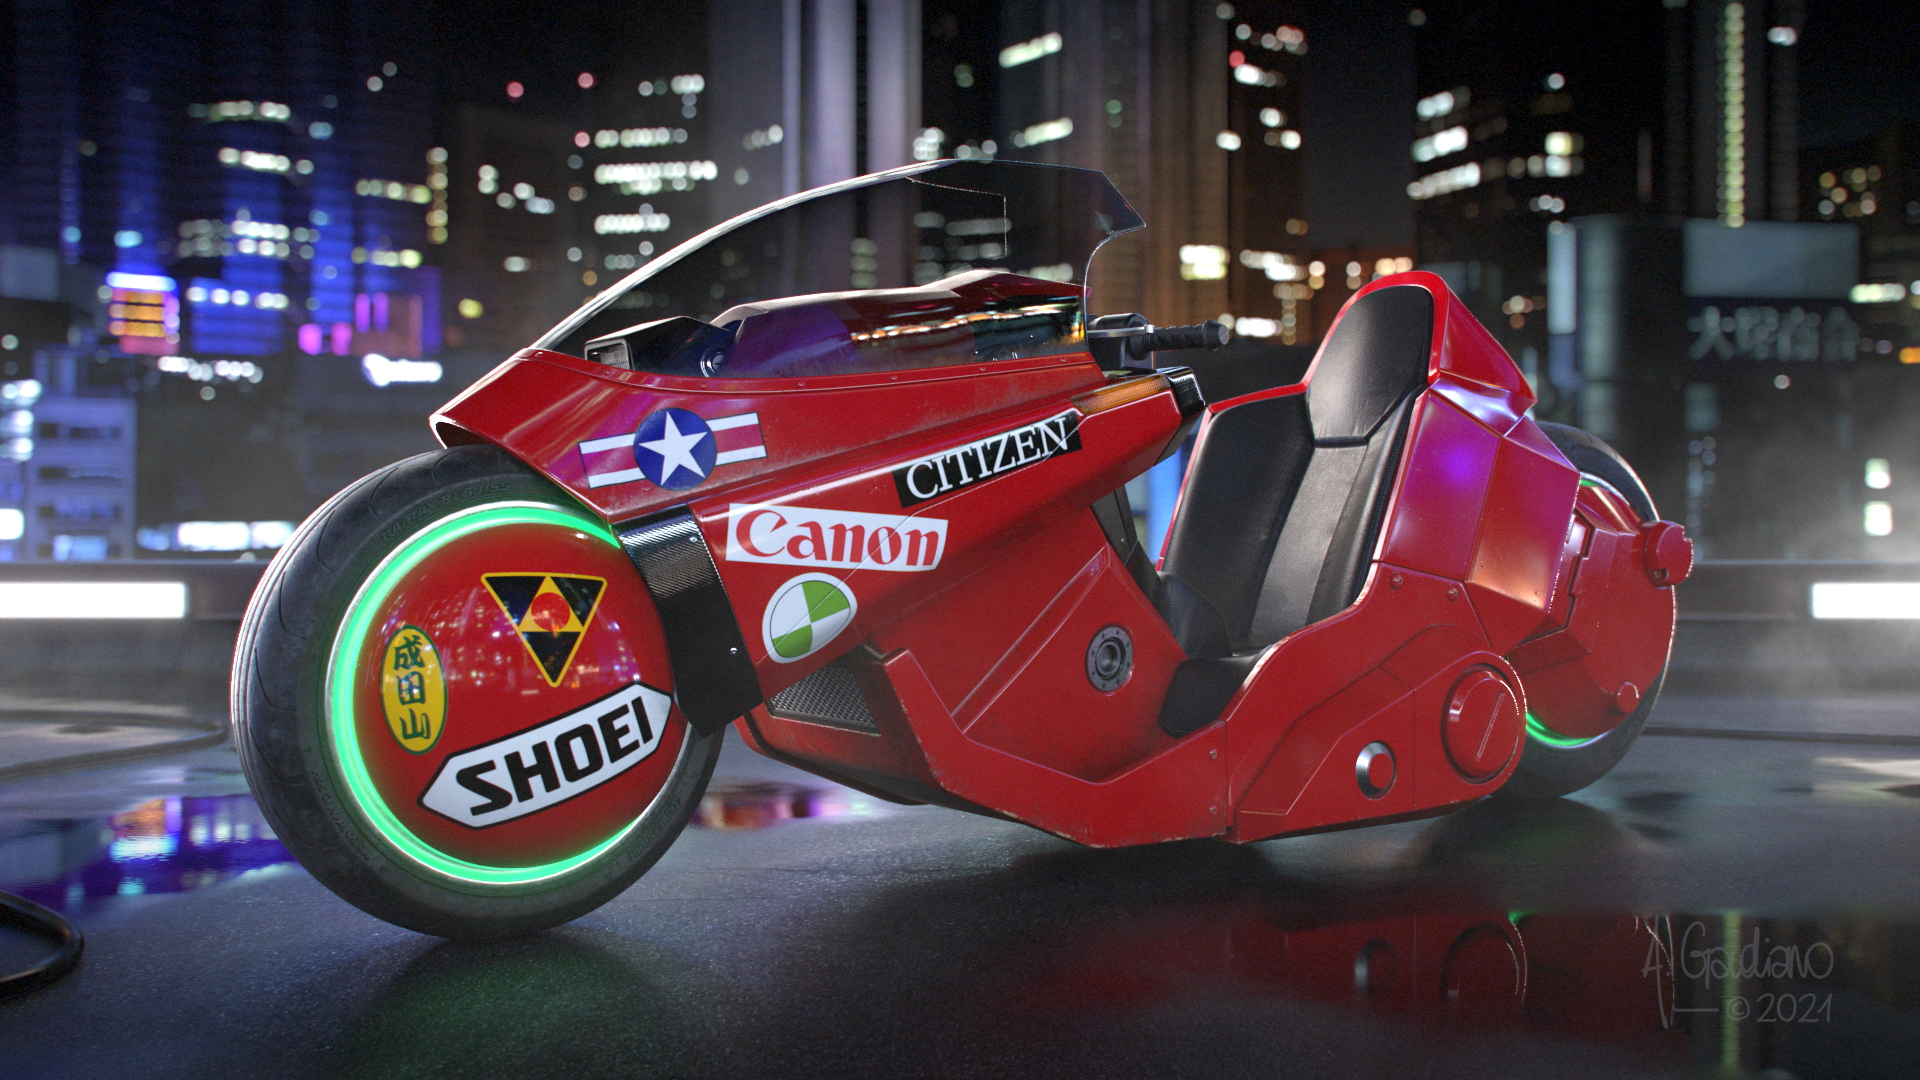
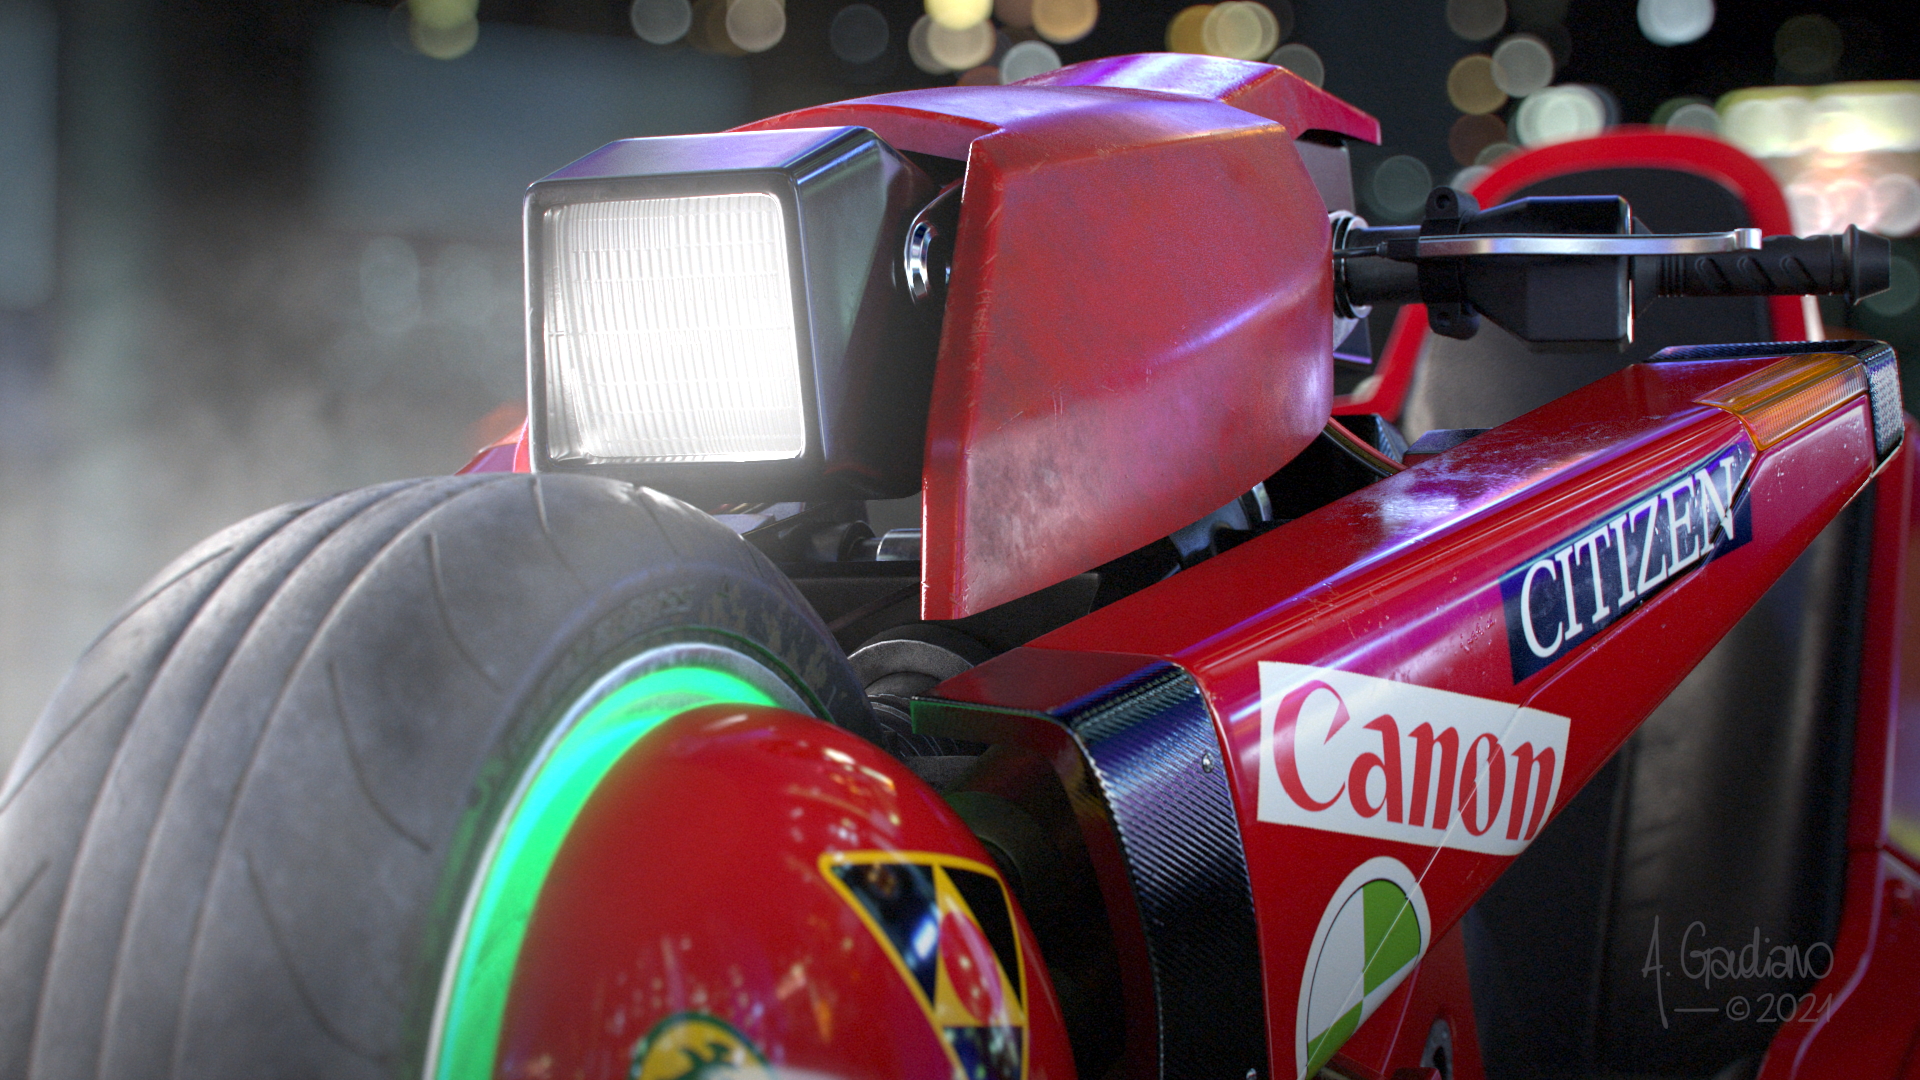
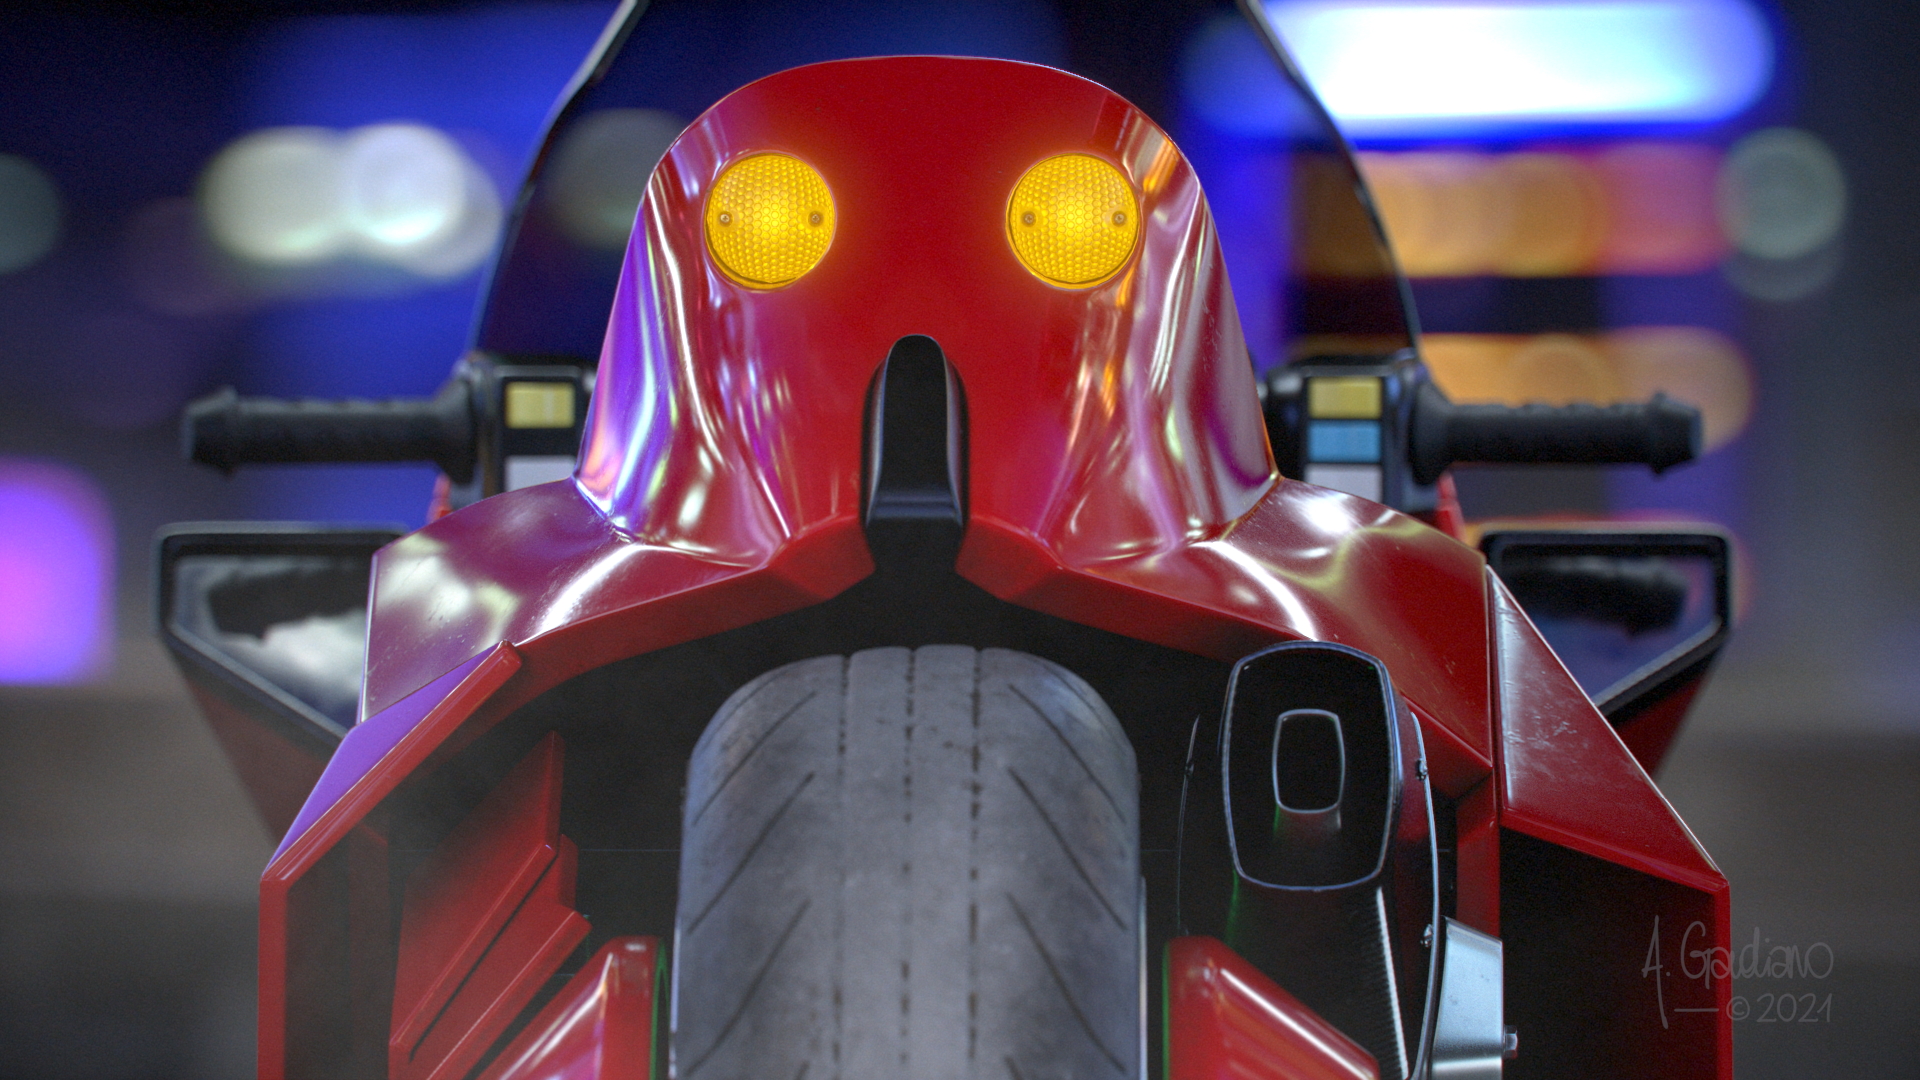
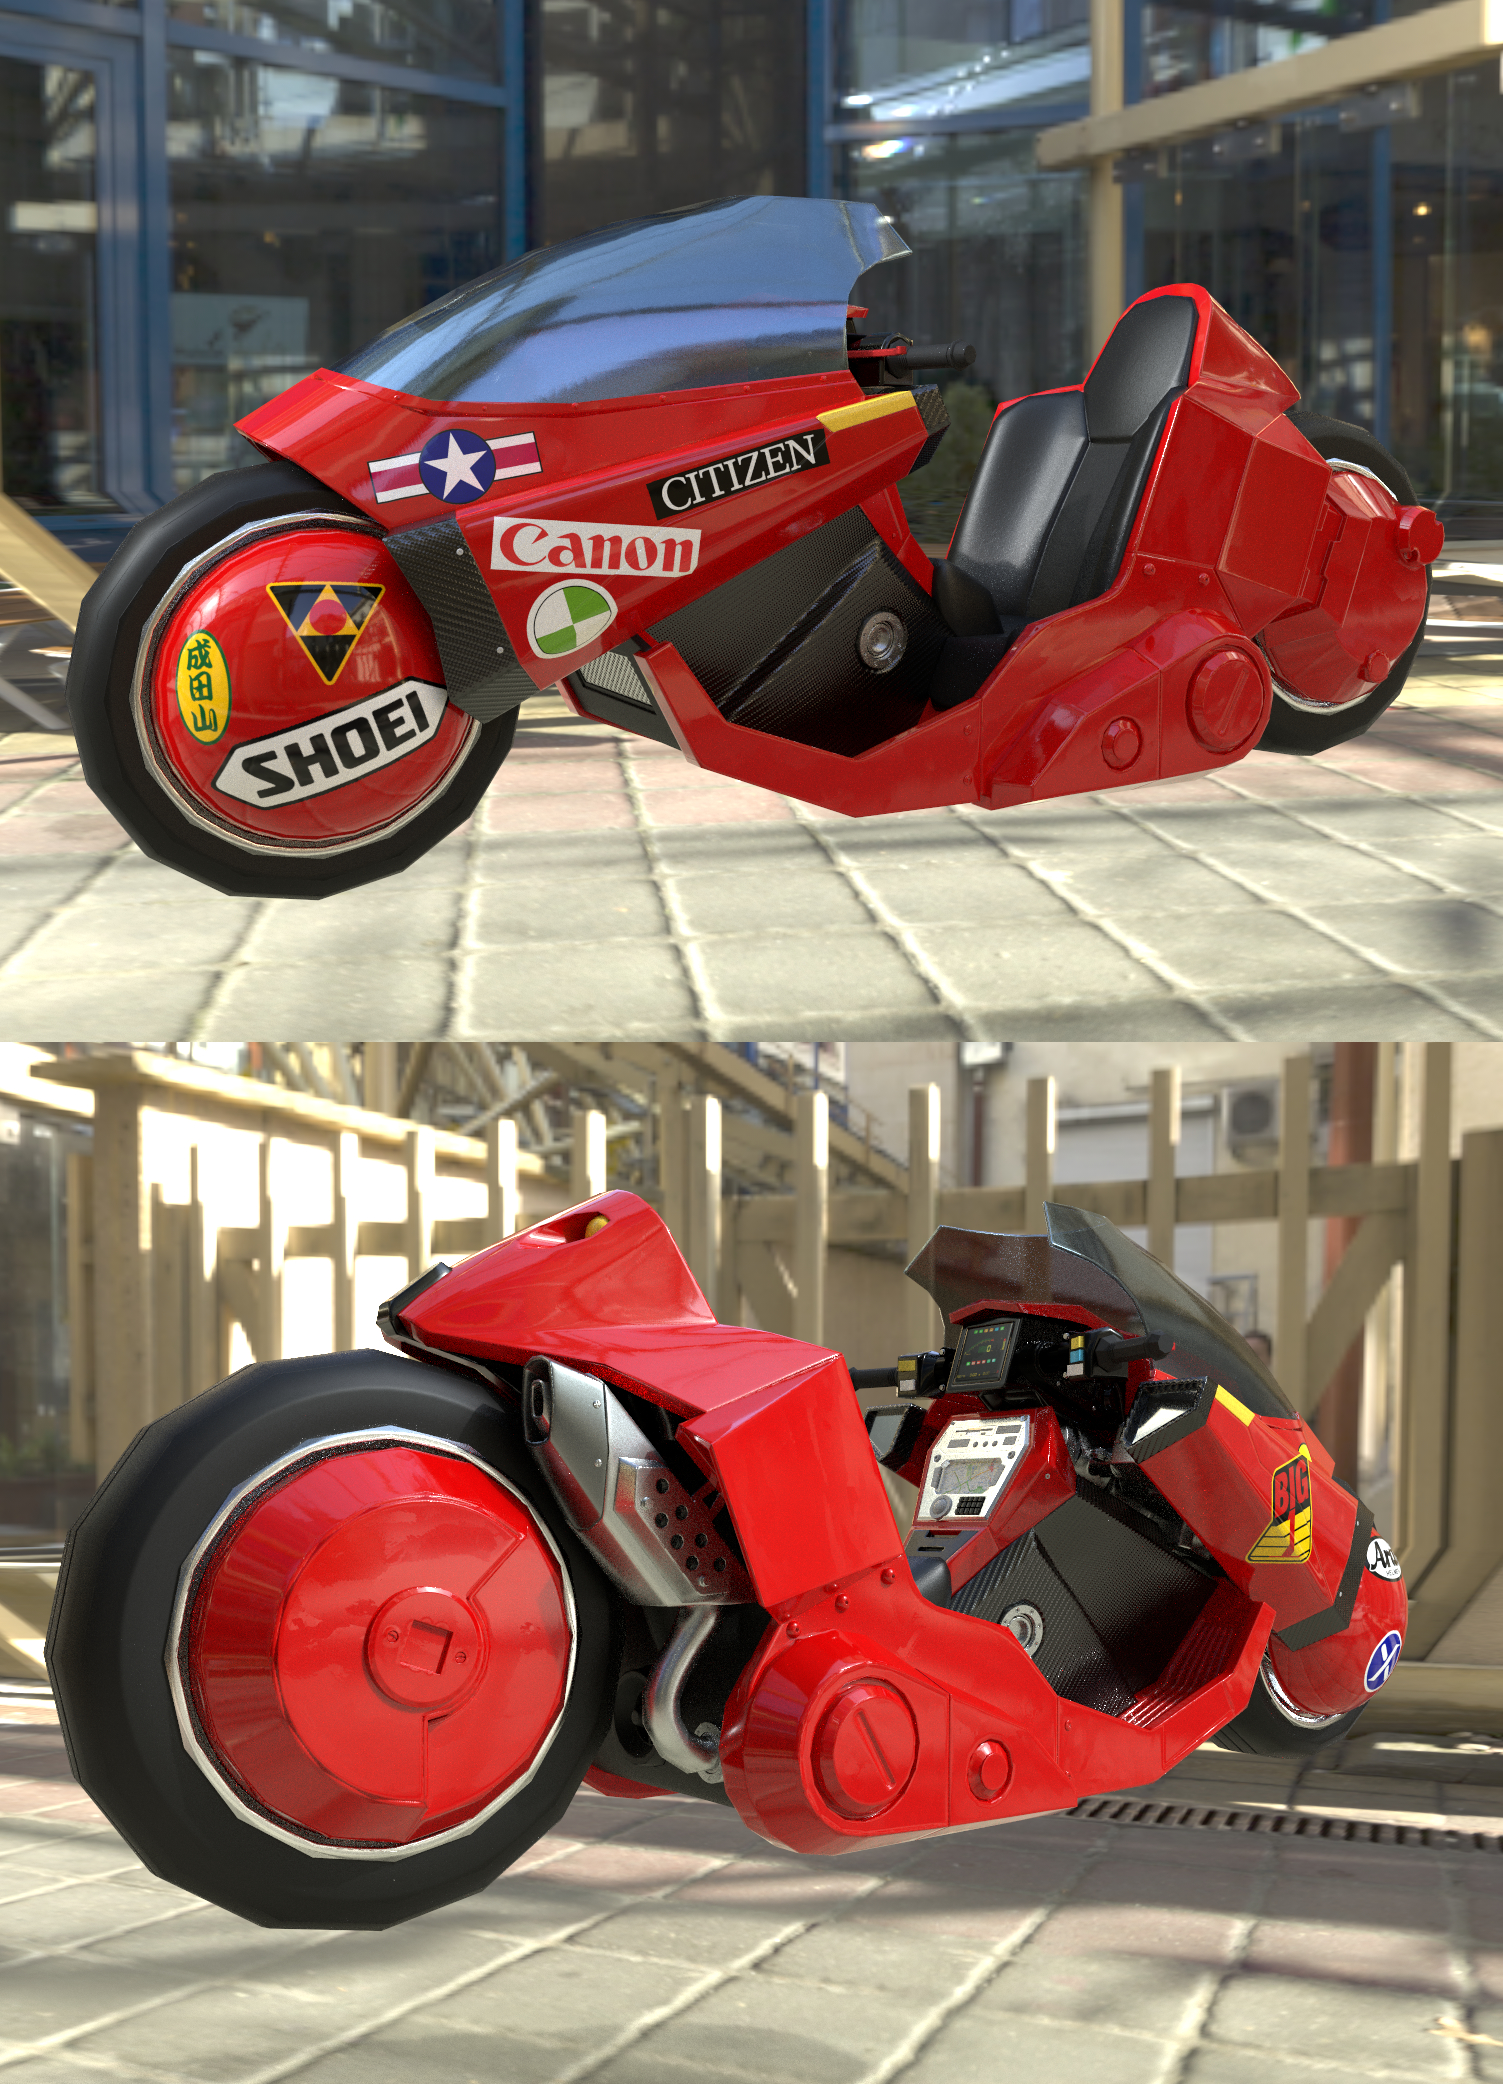
Final Renders
https://www.flickr.com/photos/chrisjongkind/23062147824/

https://www.flickr.com/photos/chrisjongkind/23062147824/

https://www.flickr.com/photos/chrisjongkind/23062147824/
https://www.flickr.com/photos/chrisjongkind/23062147824/
https://www.flickr.com/photos/chrisjongkind/23062147824/
Clay Renders

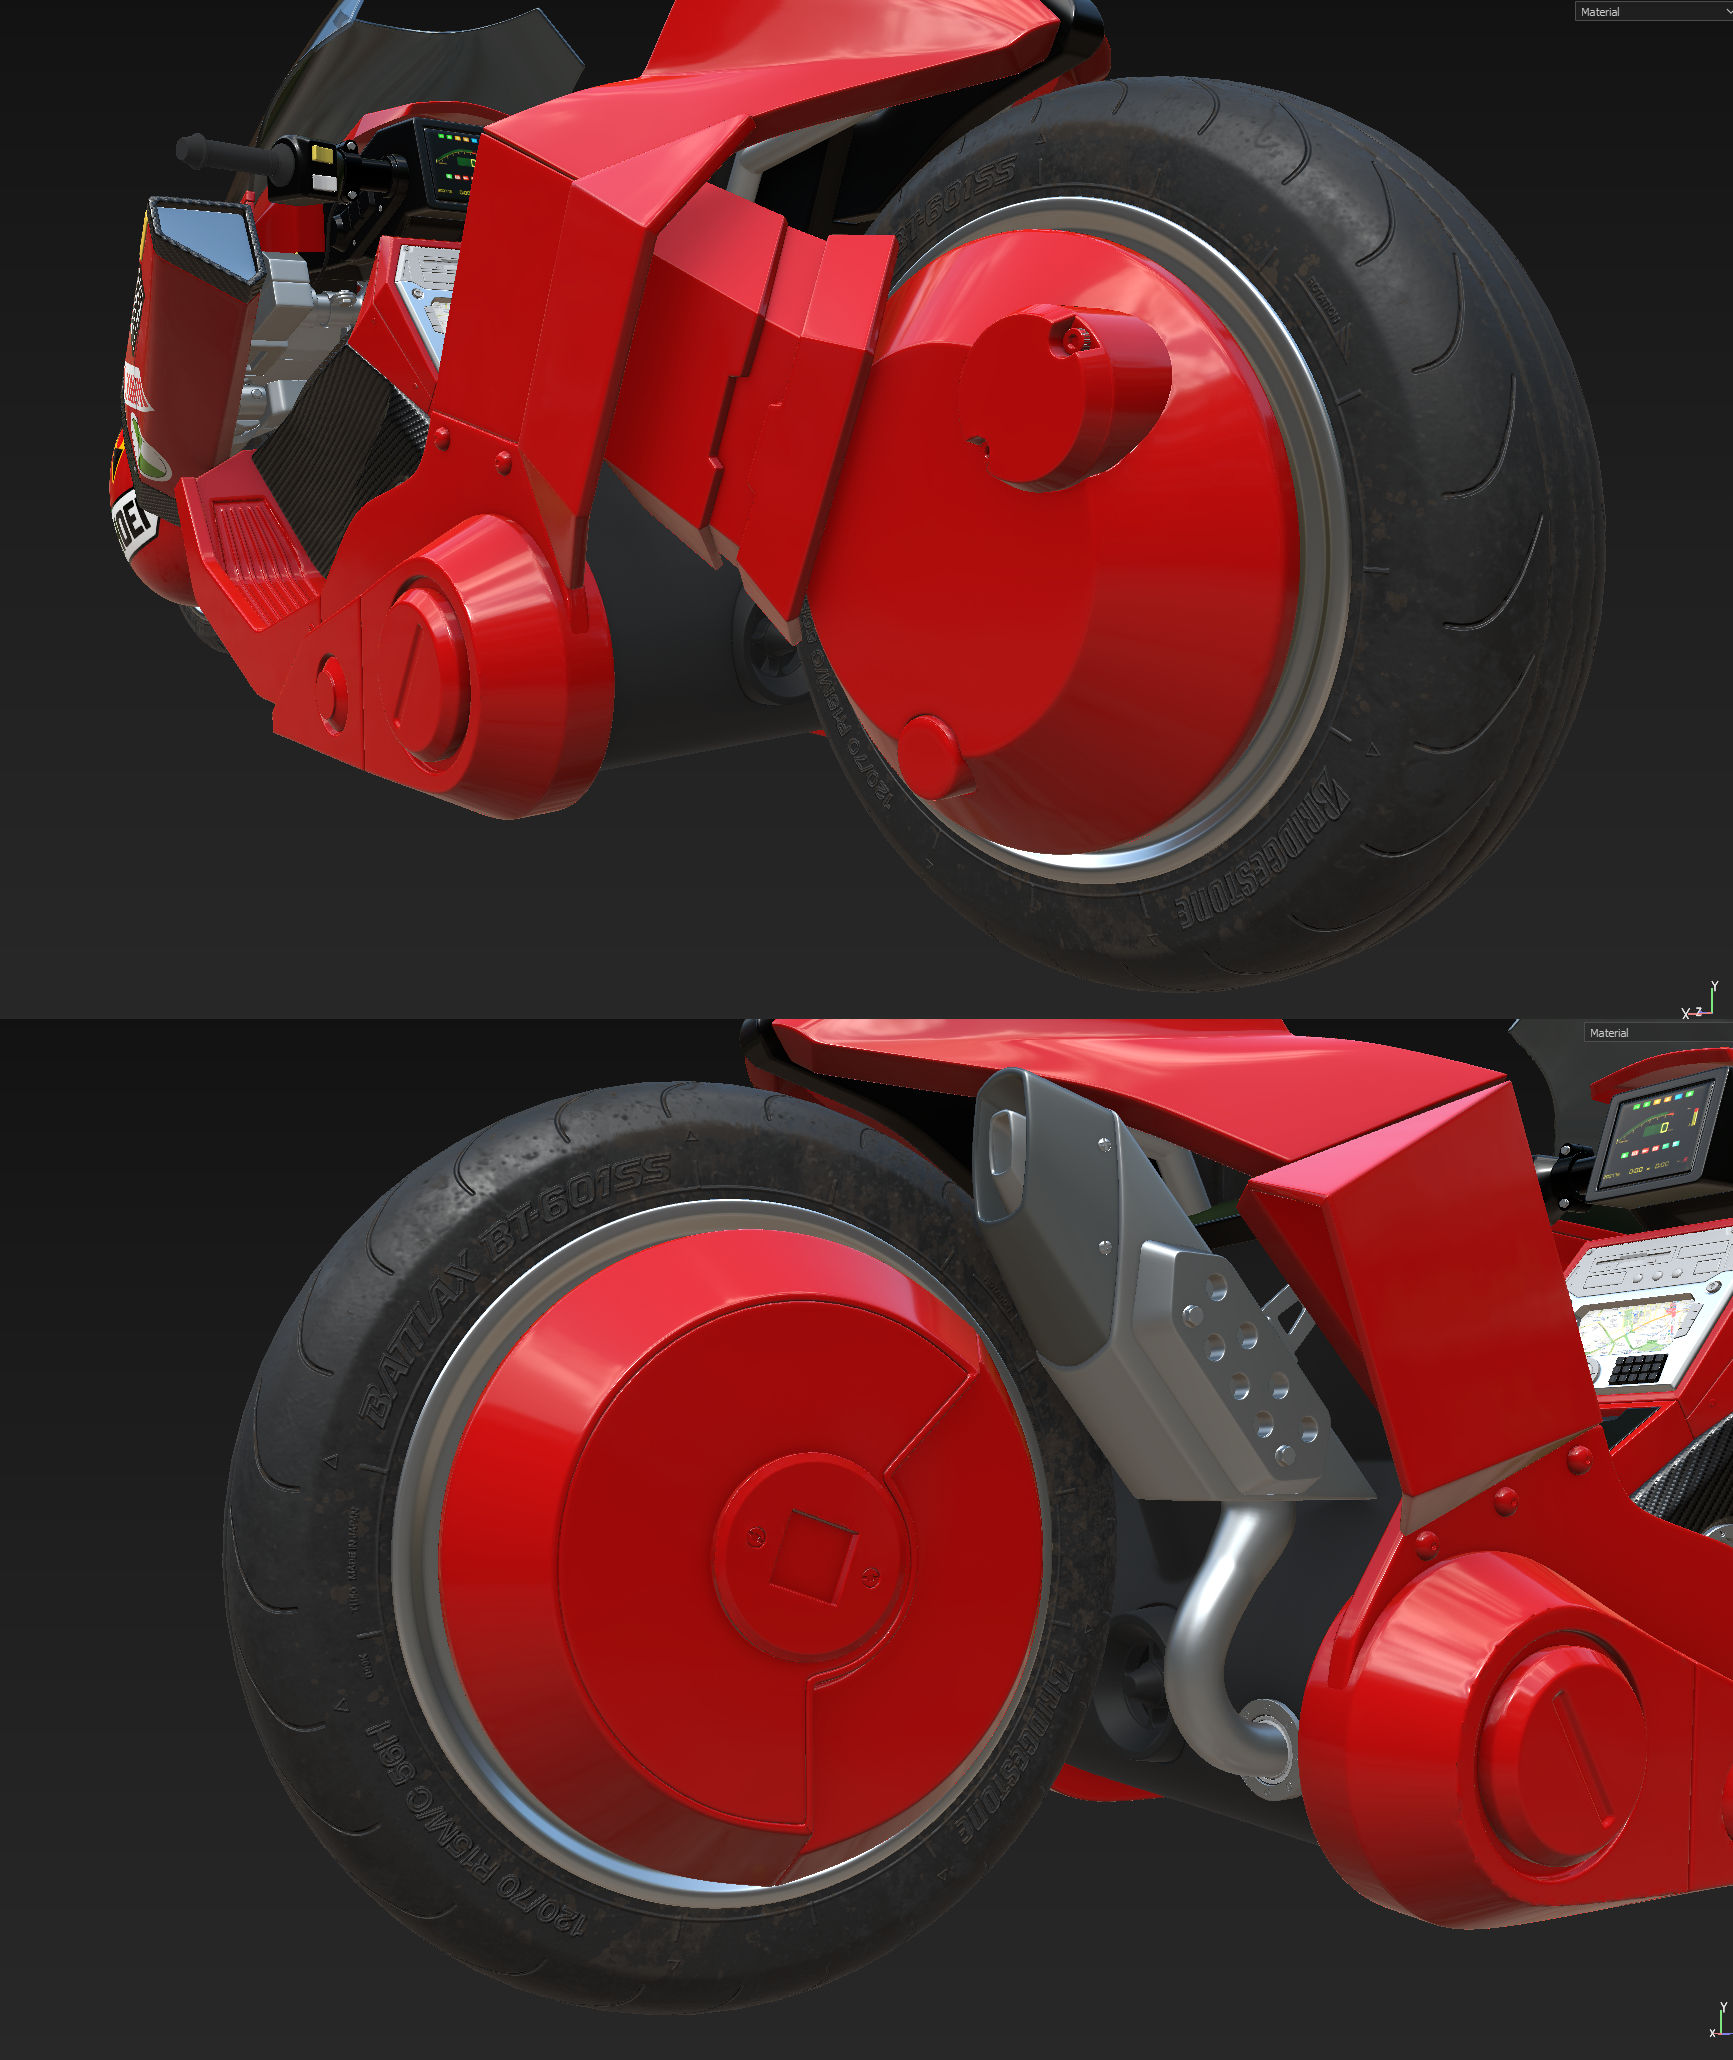
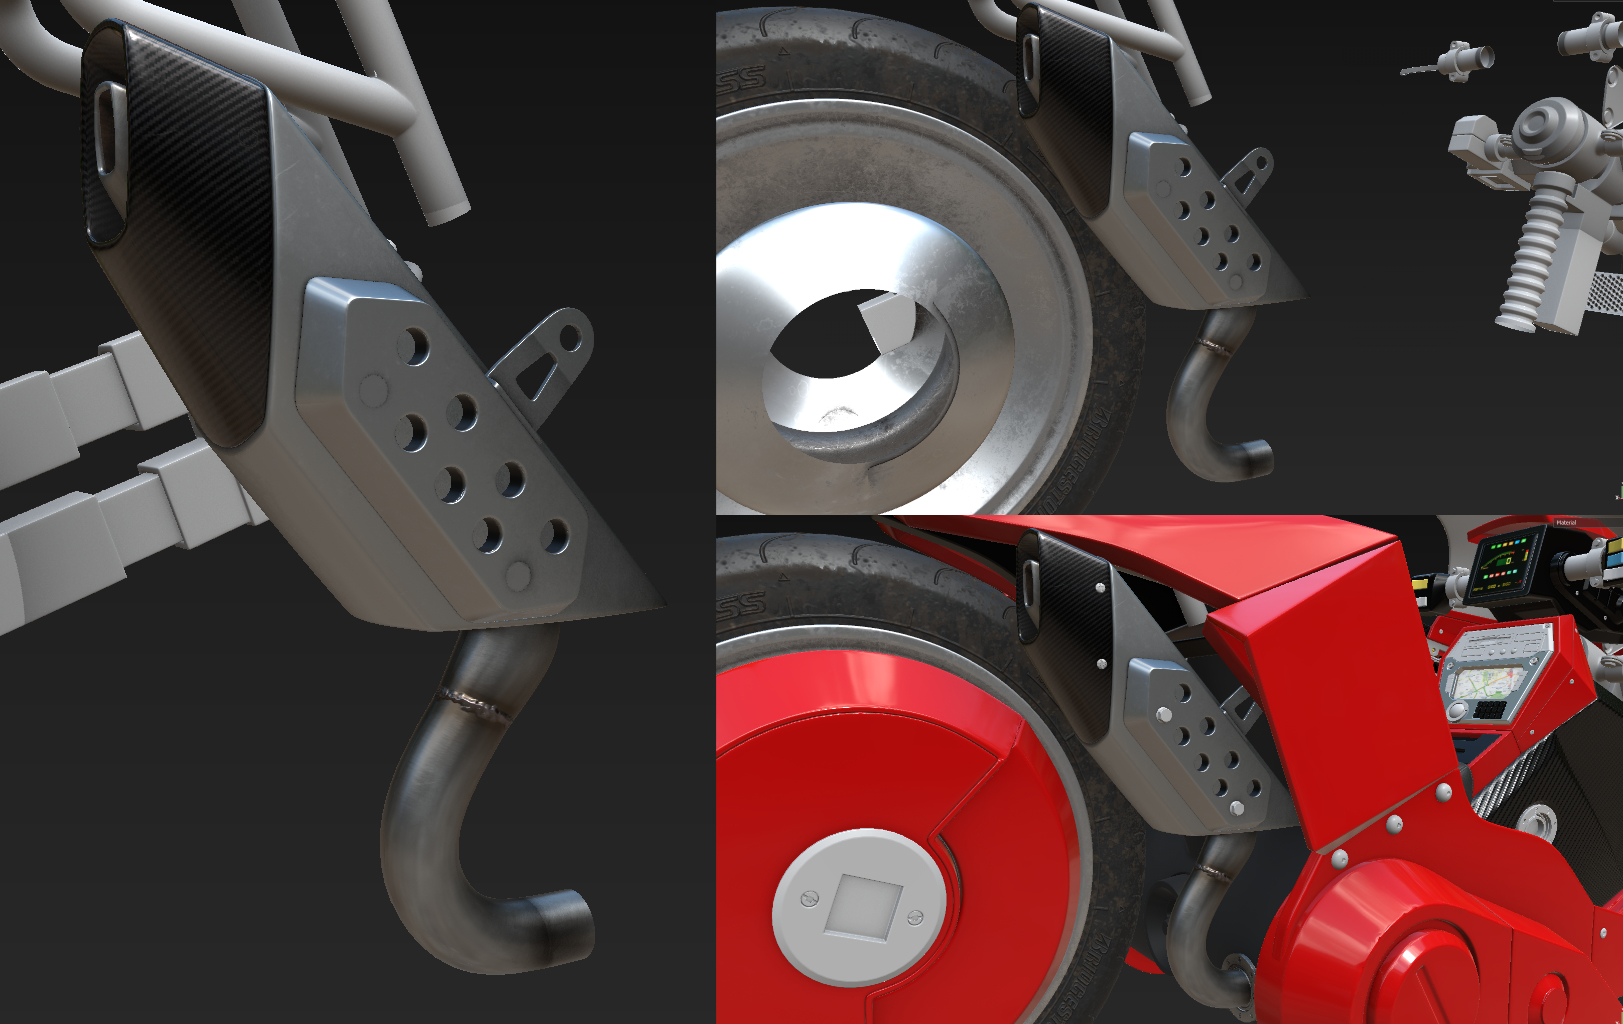
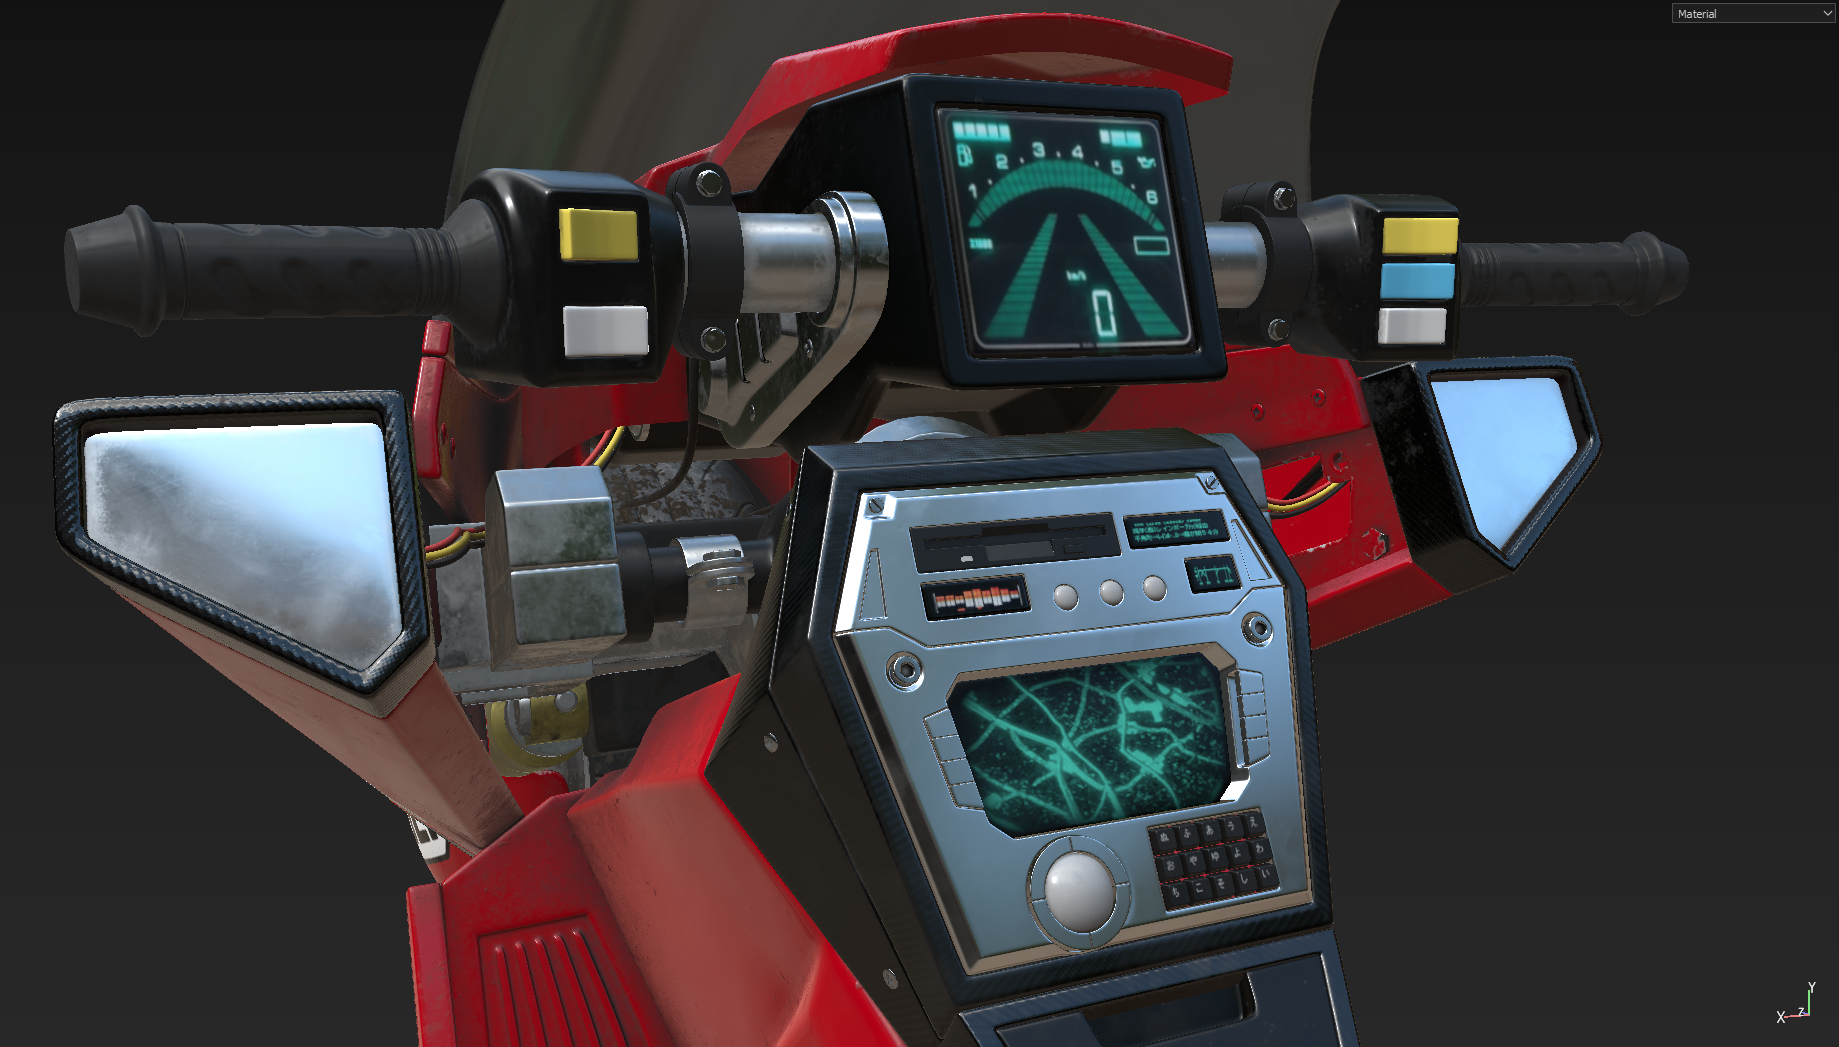
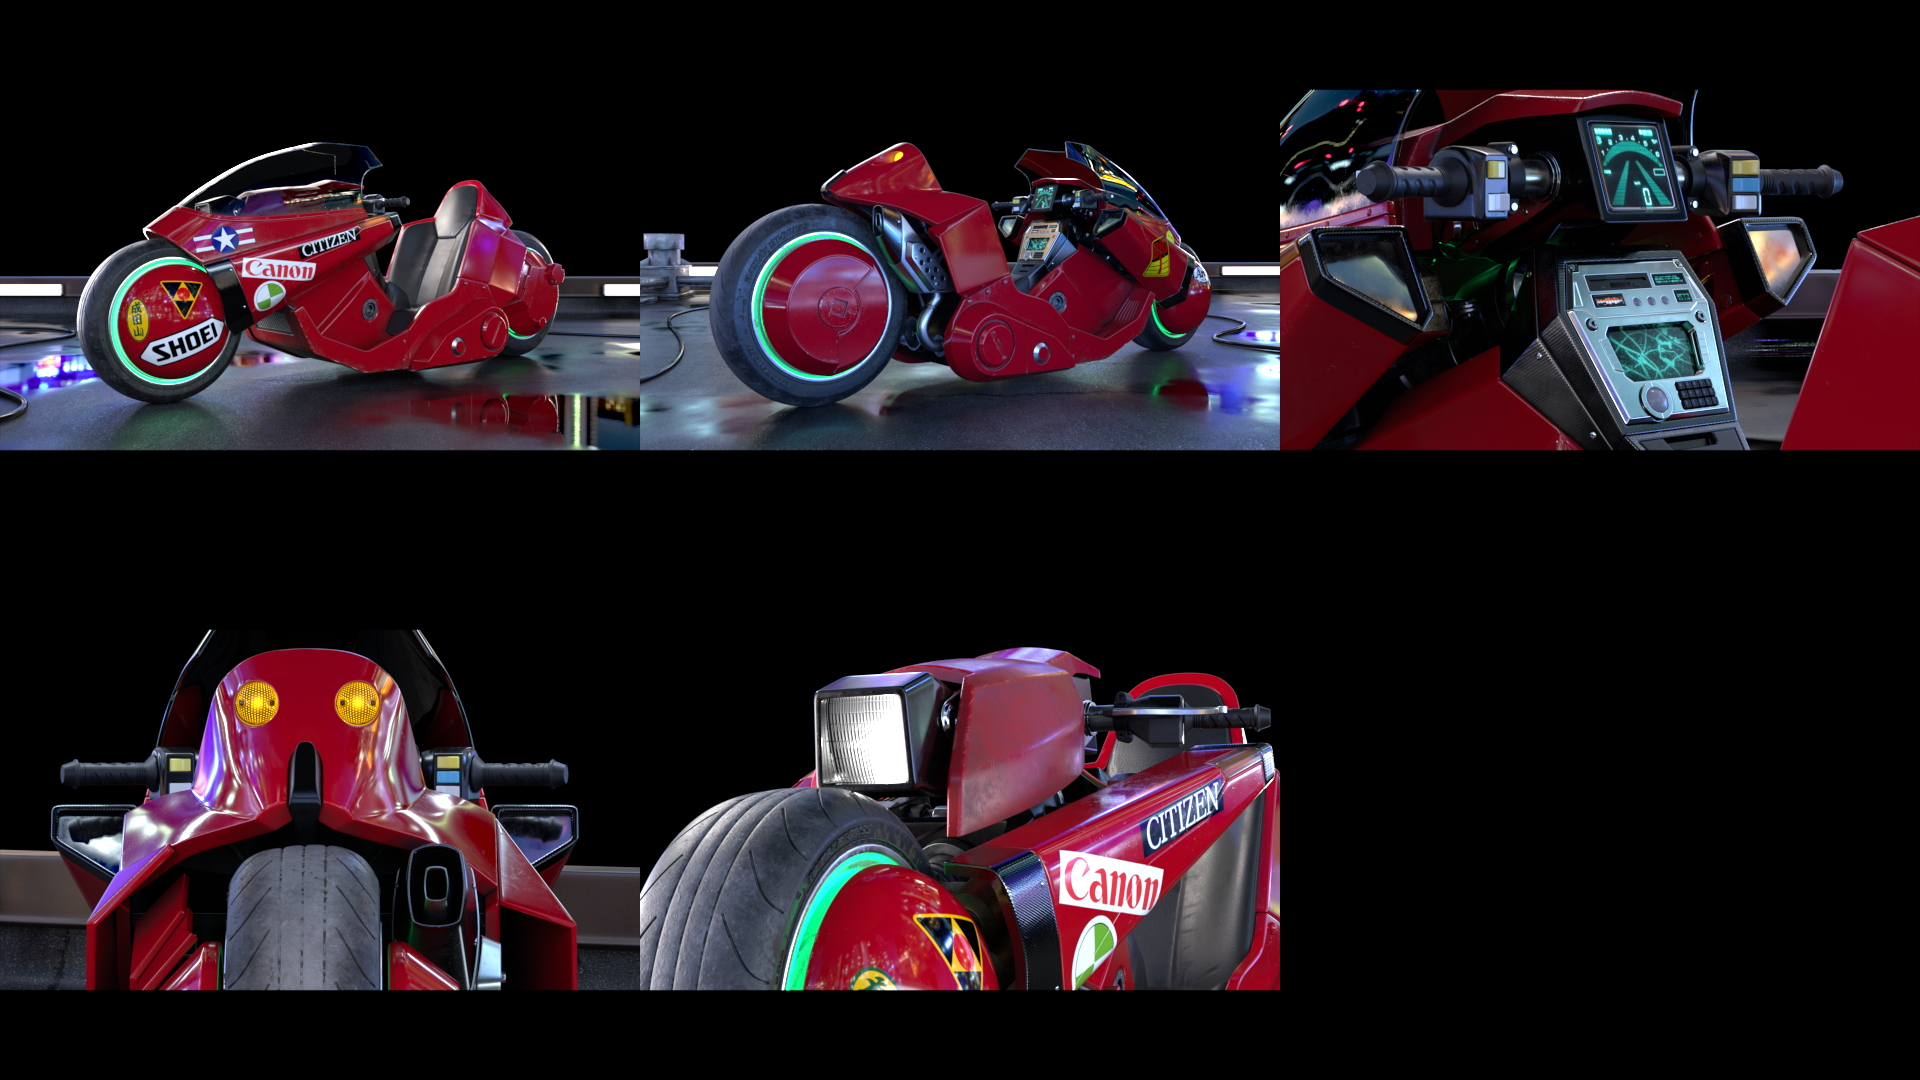
Breakdowns
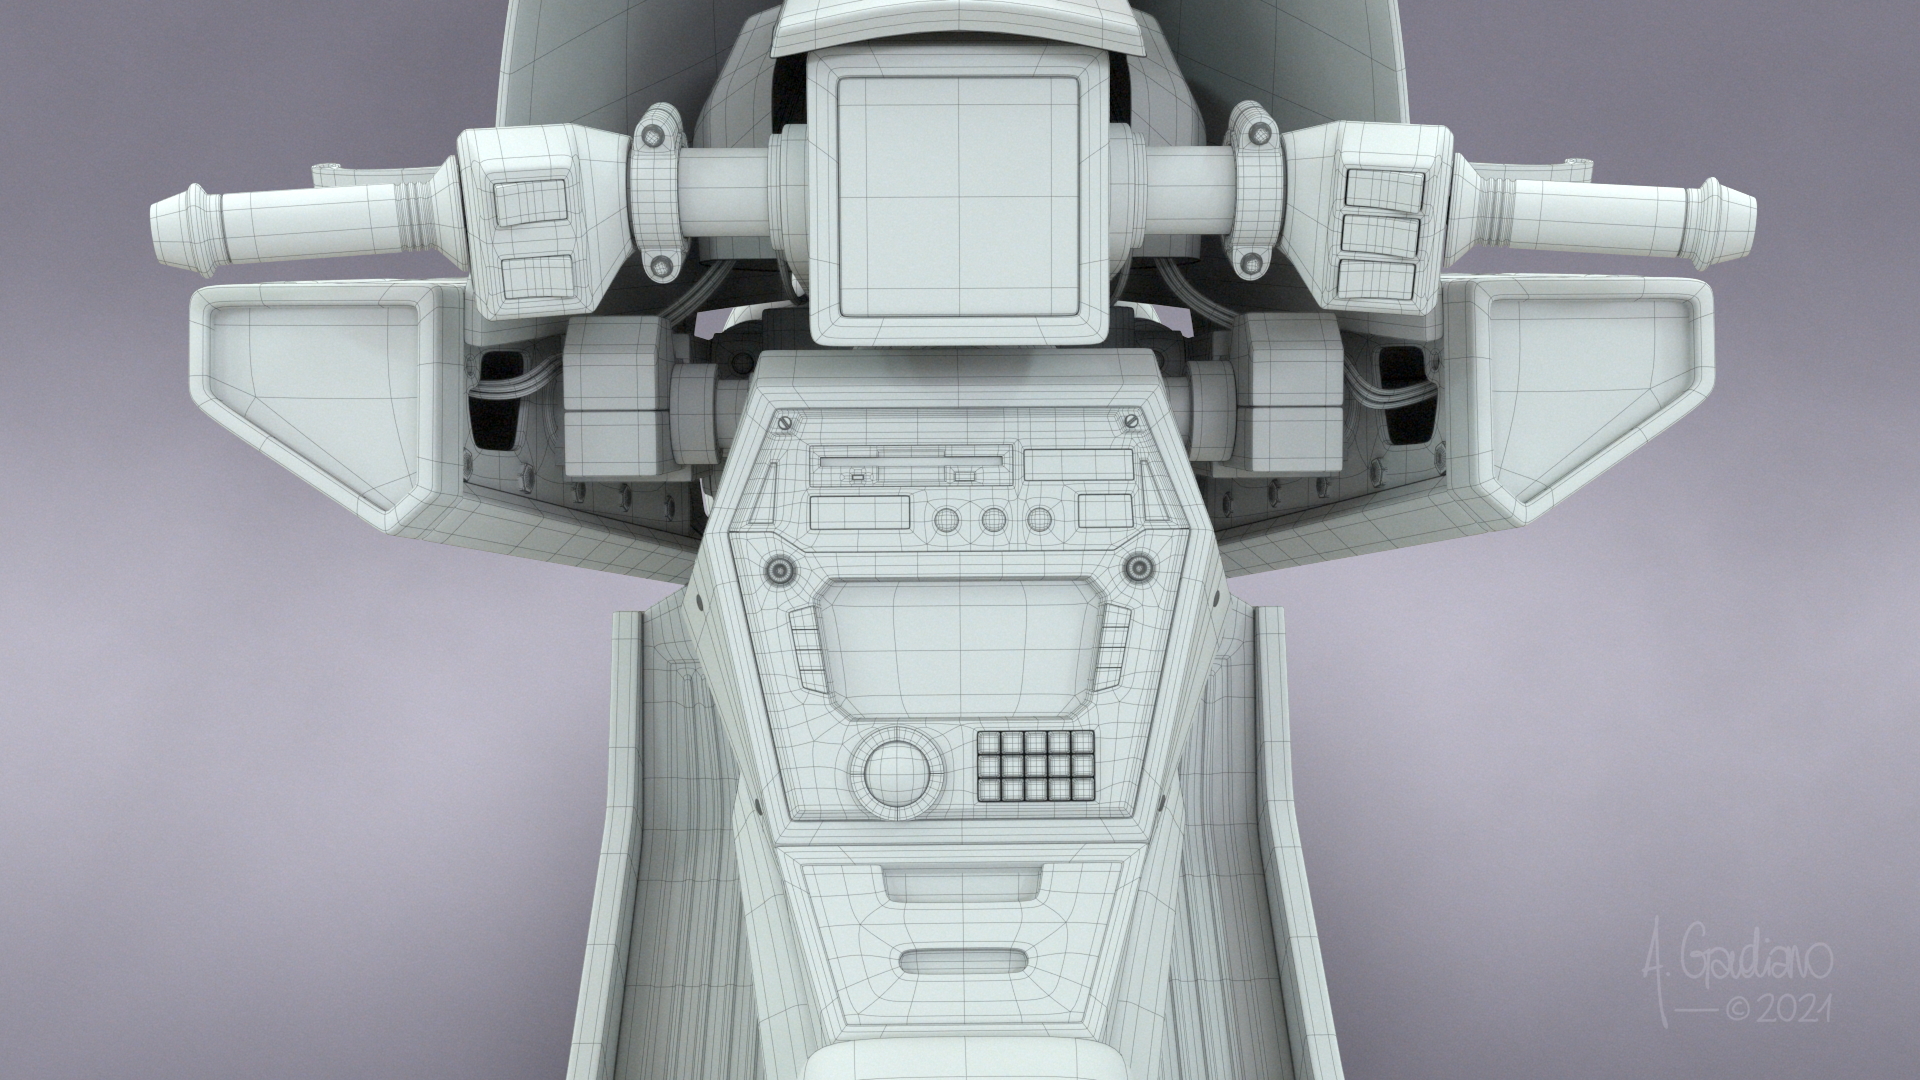
Process
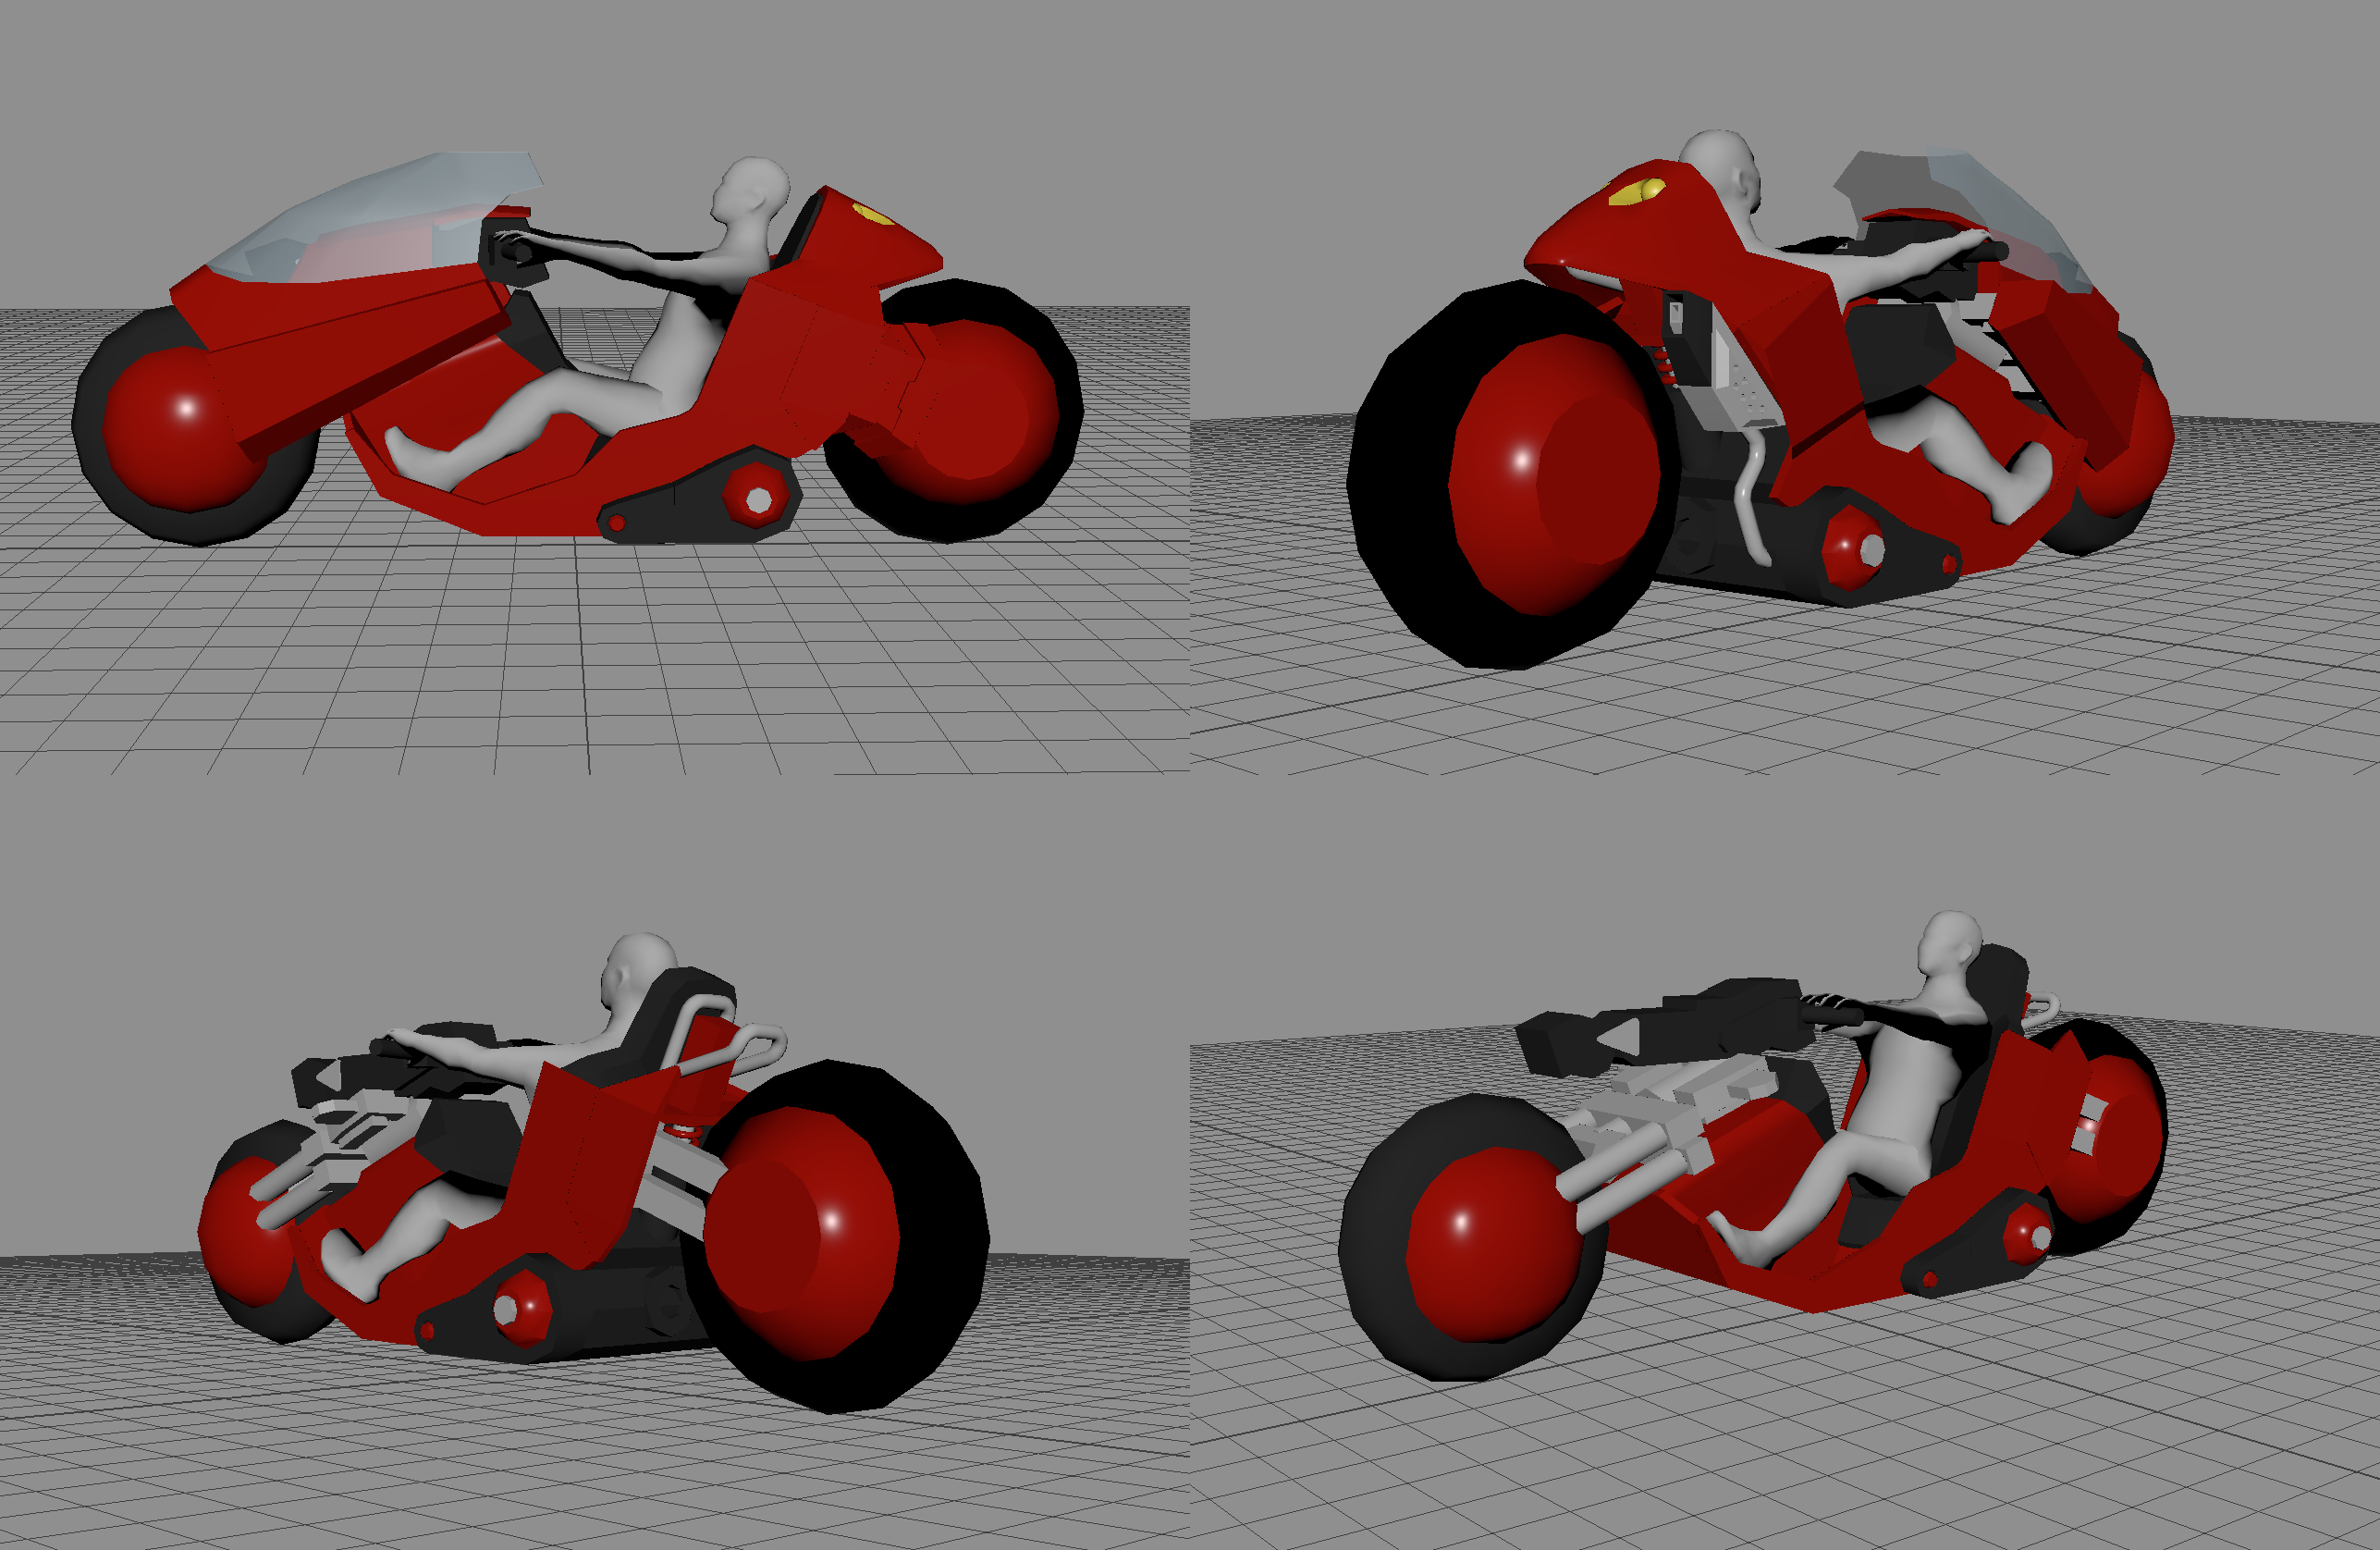
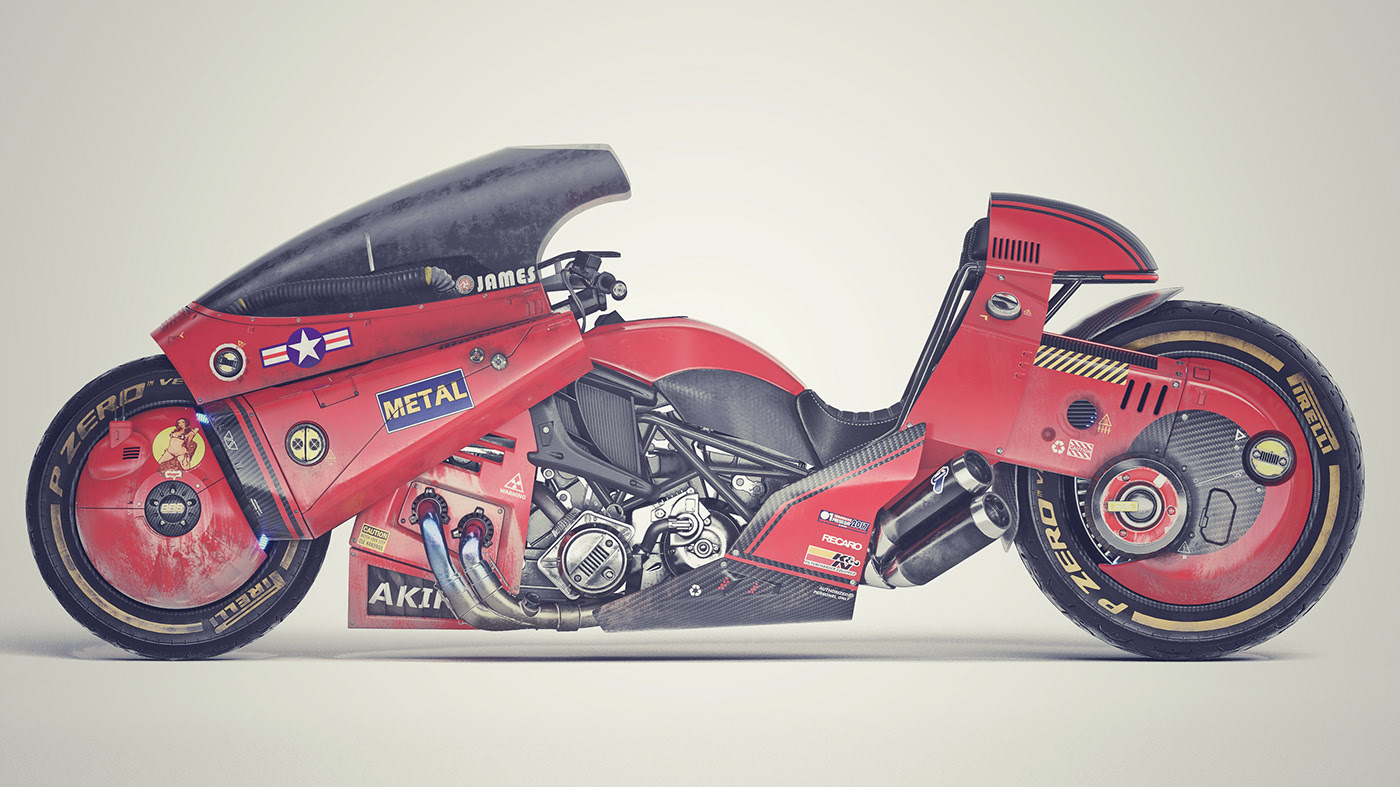
References
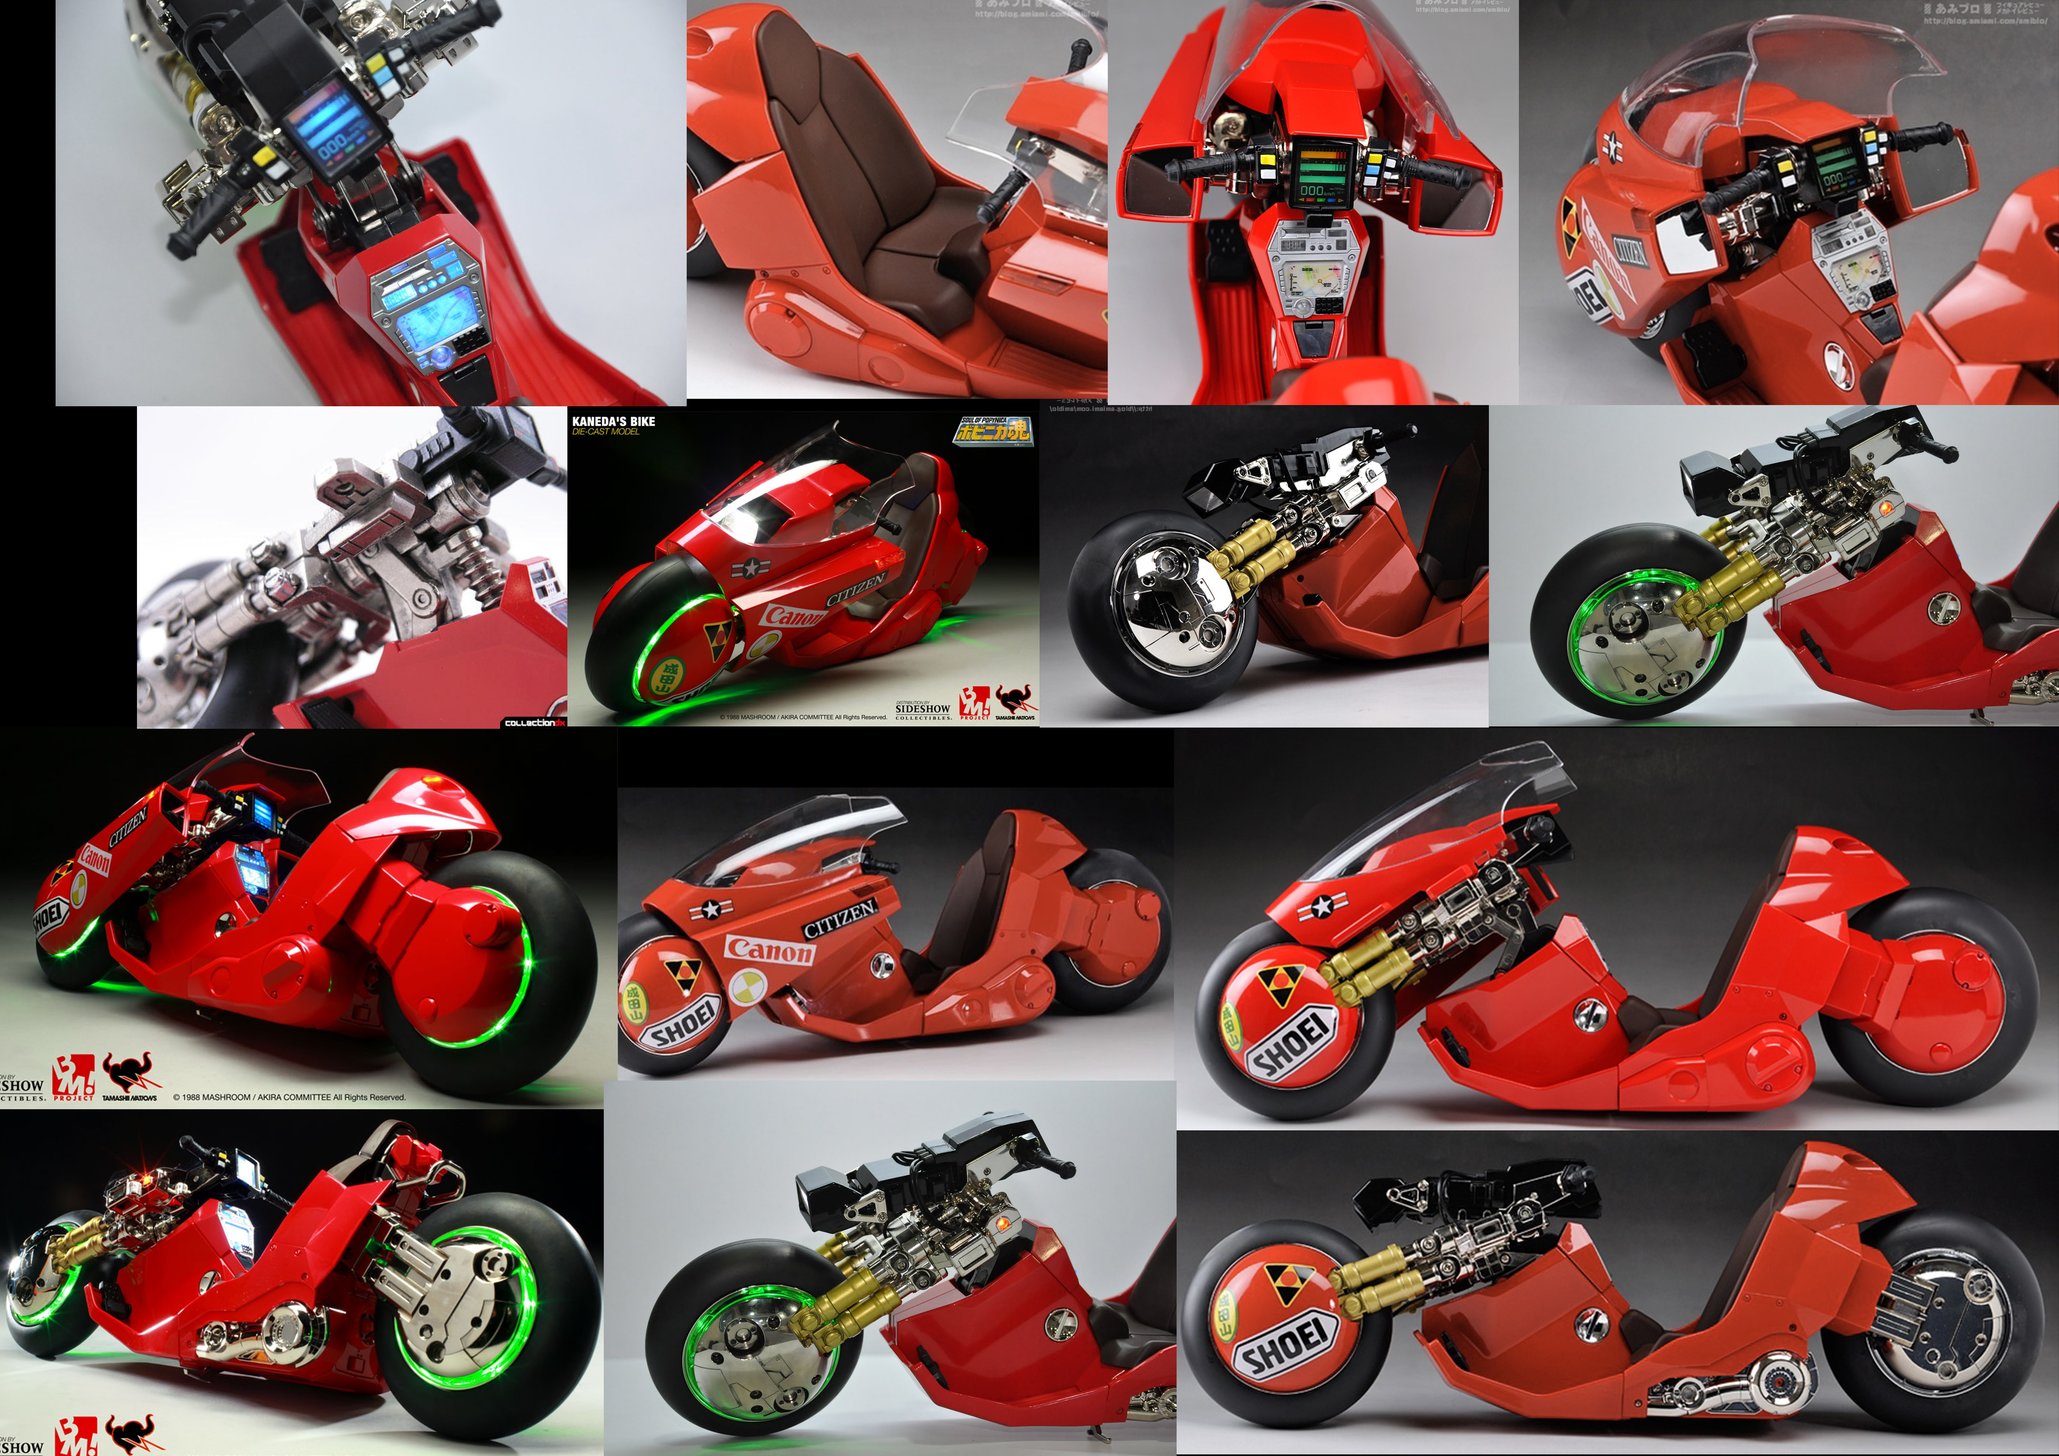
https://polycount.com/discussion/184559/kaneda-and-his-motorbike-from-akira-w-i-p-thread

https://twitter.com/llcabR18/status/1147817368313376768
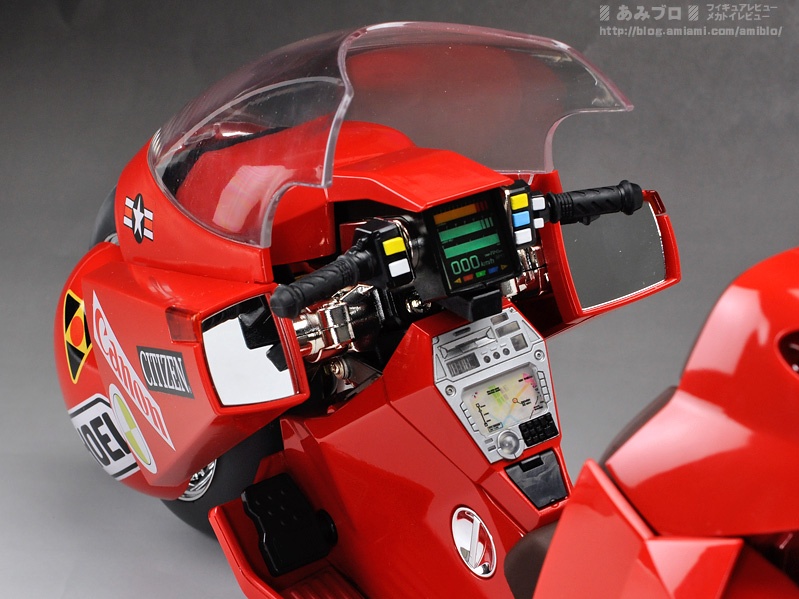
https://12inch.forums-actifs.com/t728p175-akira-kaneda-pbm-030
https://www.behance.net/gallery/66740681/AKIRA
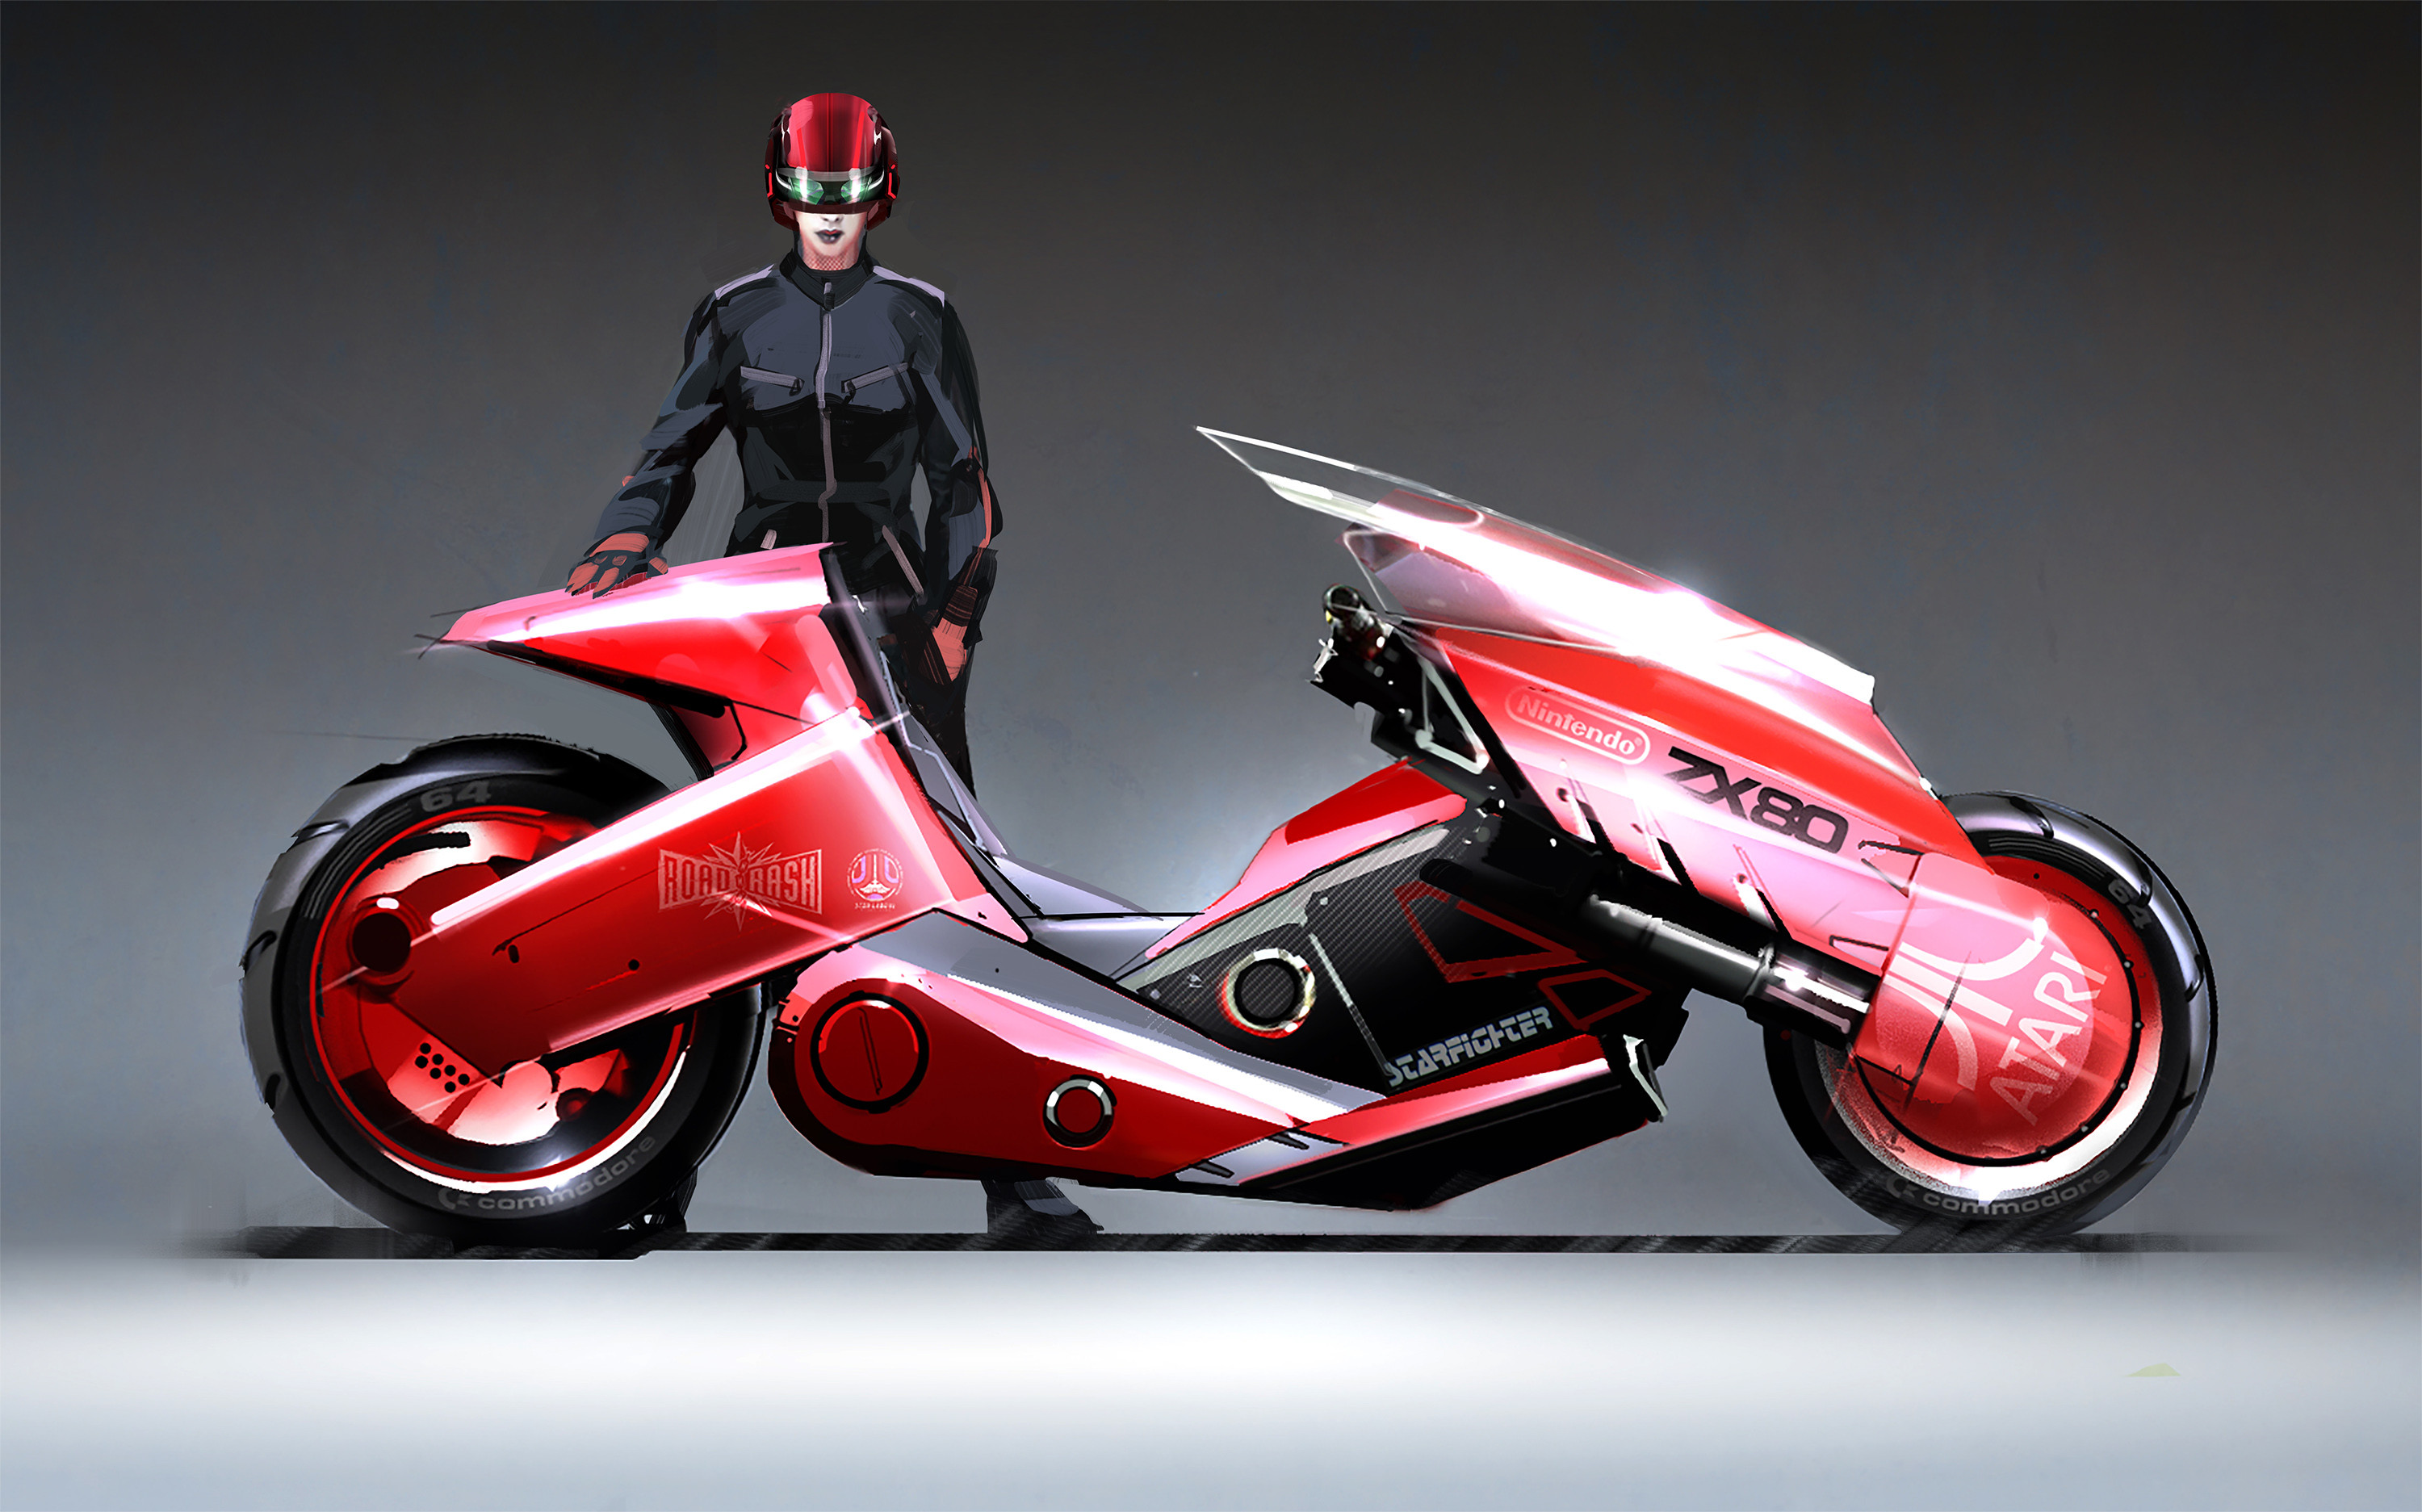
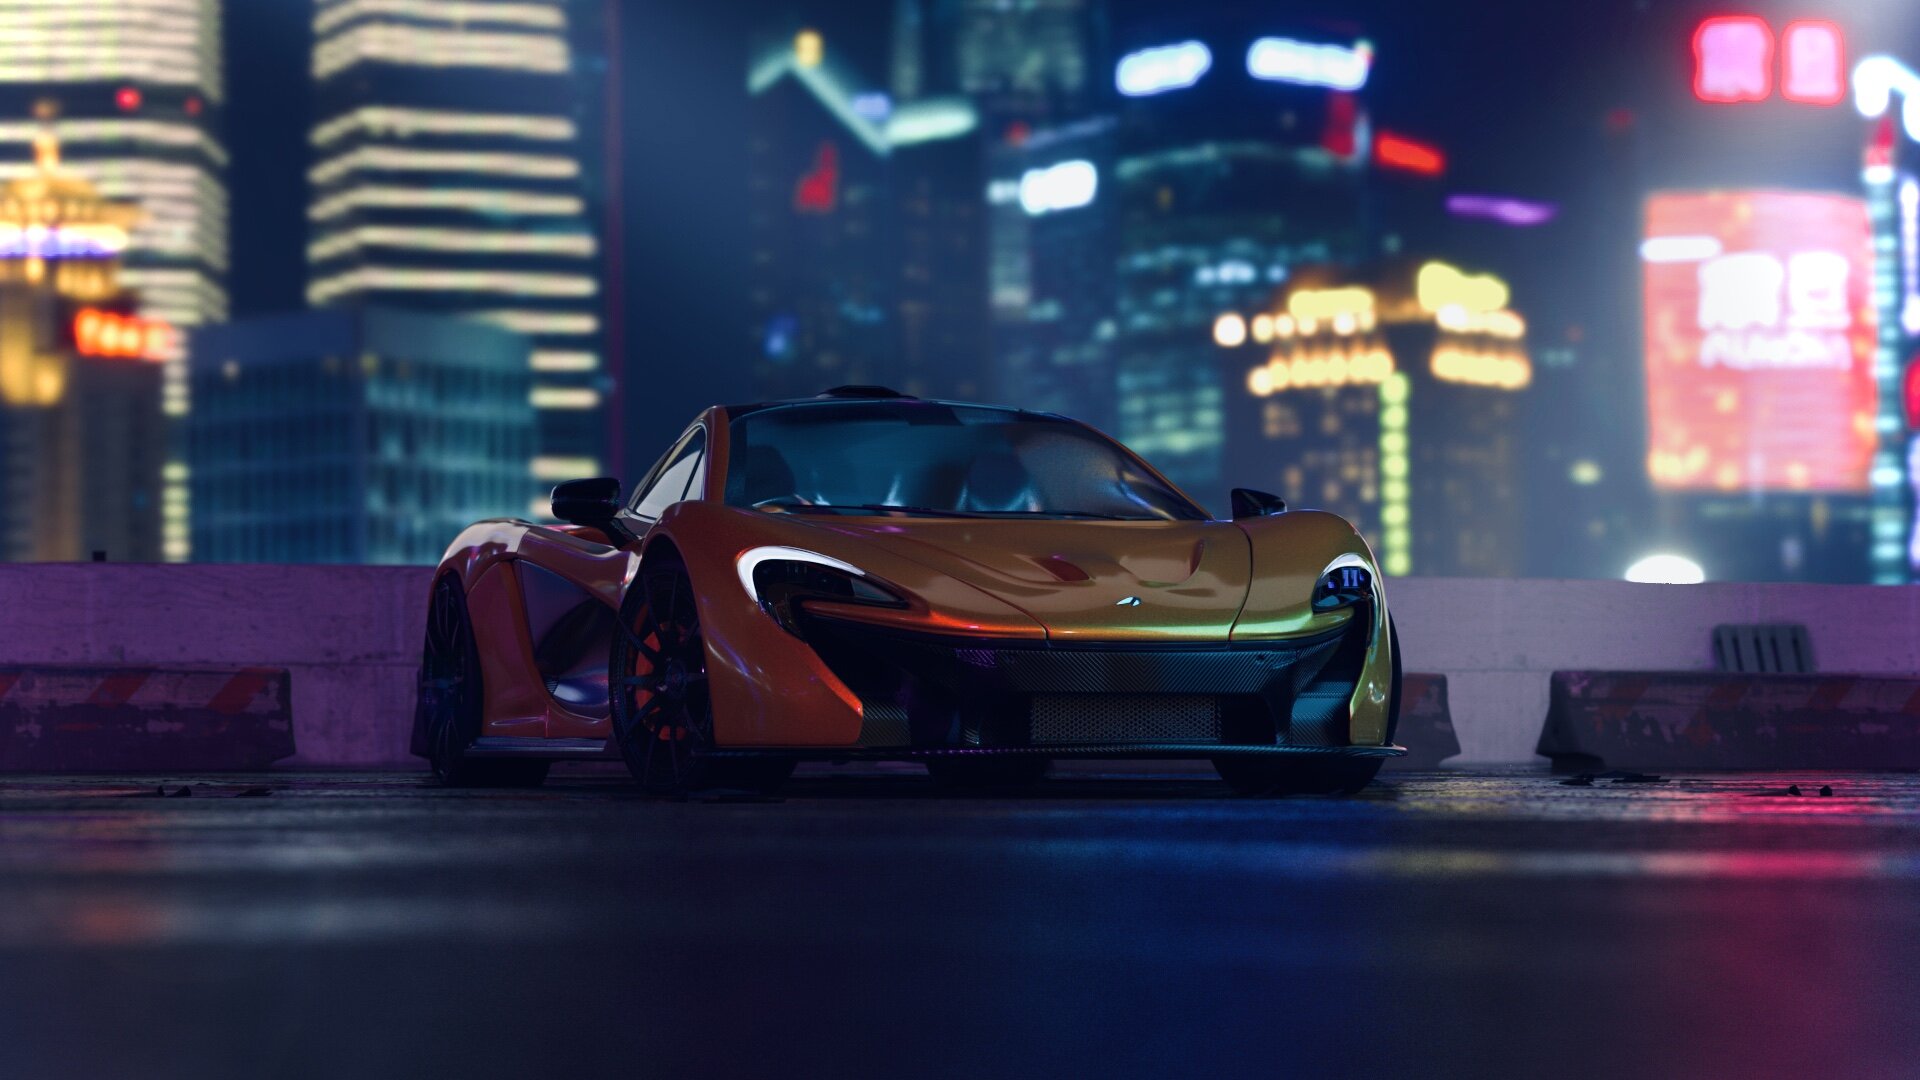
https://www.artstation.com/artwork/YDKew
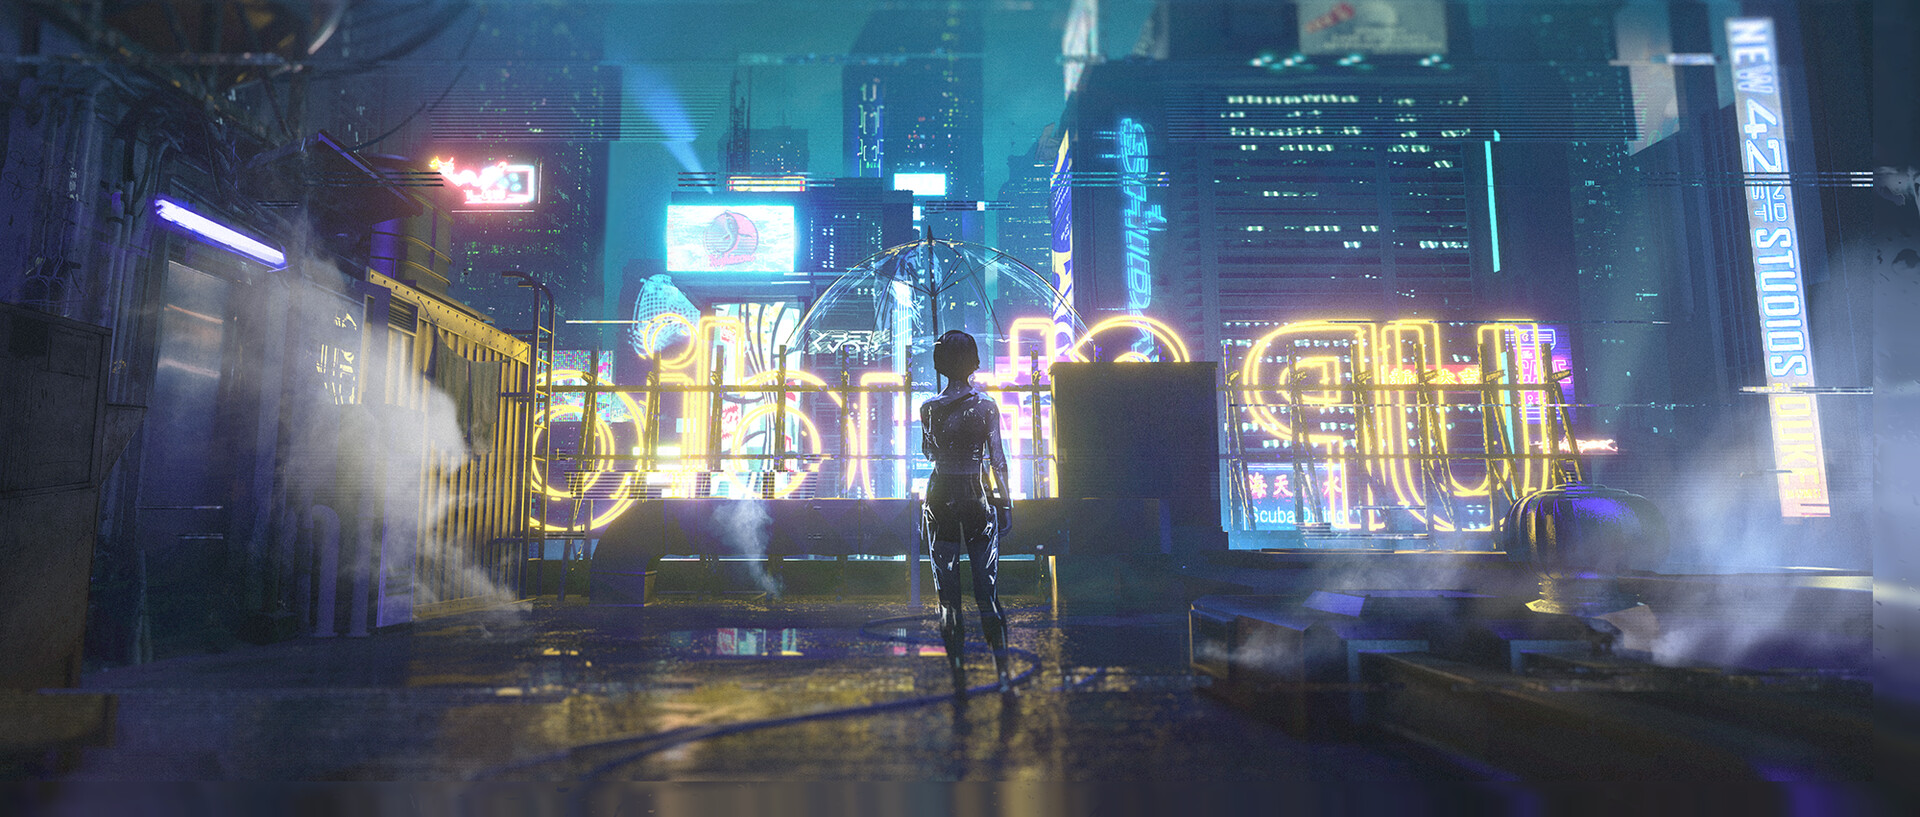
https://www.artstation.com/artwork/cyberpunk-rooftop
https://www.wallpaperbetter.com/fr/hd-wallpaper-sdyrr
https://www.artstation.com/artwork/Xng33n